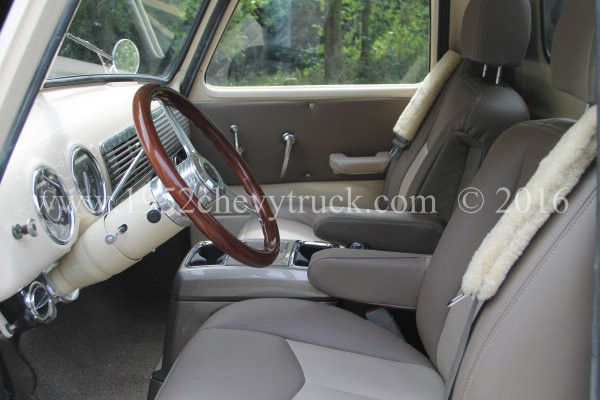
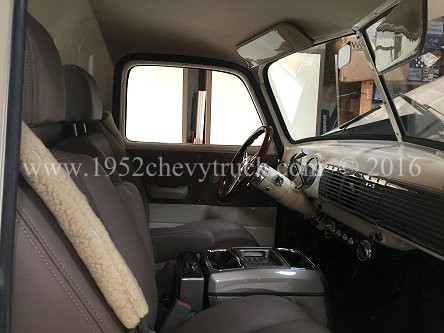
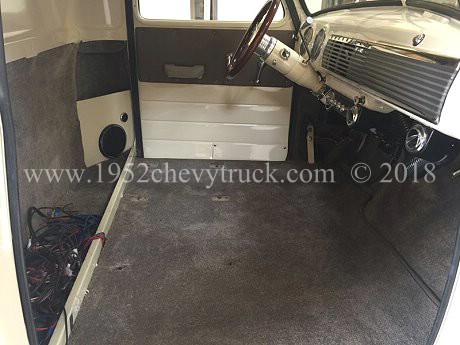
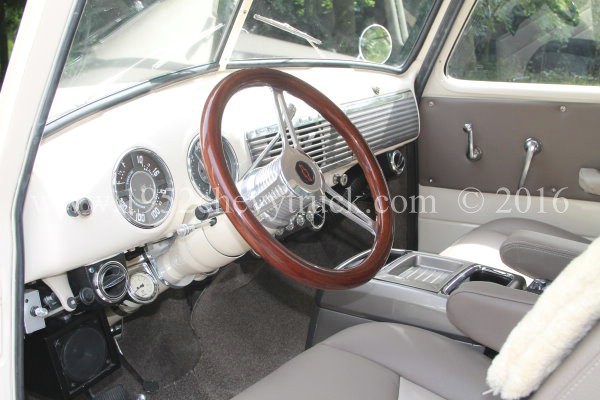
The new interior is shown above and the whole process is detailed below.
The a list of requirements was made -
New headliner
New door panels
New arm rests
New carpets
New rear of cab carpet panels behind the seats
New kick panels in foot wells on the sides of the cab forward of the doors
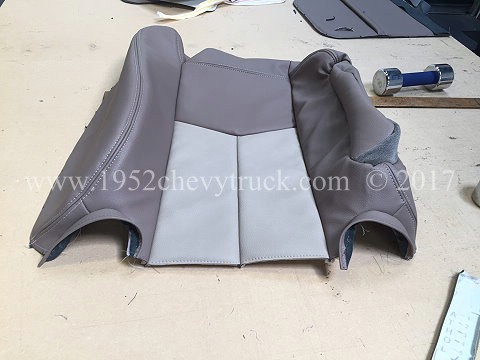
Re-upholster seats
Paint control button side panels on seats
Paint centre console
Paint sun visors
New trim along edge of step. (Decided not to use the original metal edging)
Aims.
To change the colour scheme to match the colour of the truck.
To avoid dark brown which does match but is not a colour I wanted to continue with. Makes the cab dark inside.
To re-use and re-upholsterer the excellent seats and replace or refurbish all of the other items.
Colours - The plan was to choose colours which were a good match to the cream truck and toned in
sympathetically with an integrated total colour scheme.
Materials - To use modern materials which looked like they could have been used by a car manufacturer.
An OEM approach. (I largely copied my GMC Denali to achieve this).
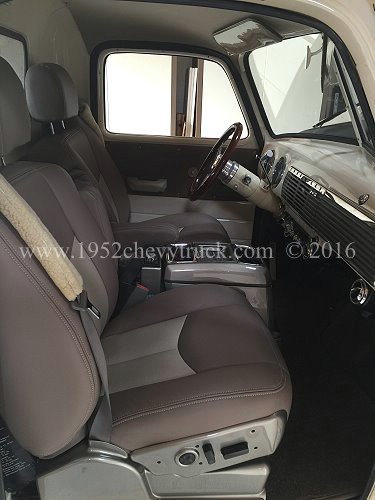
Seats.

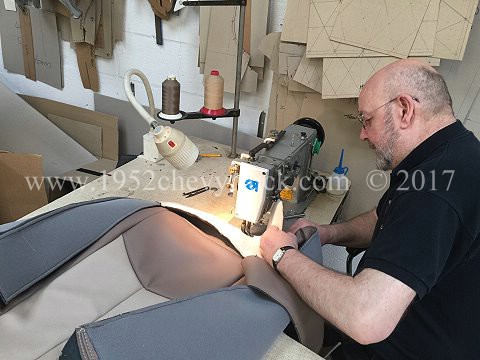
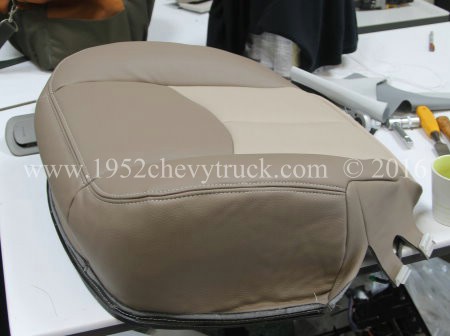
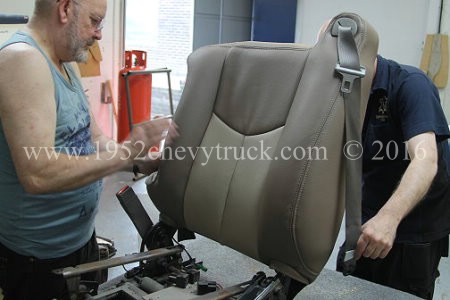
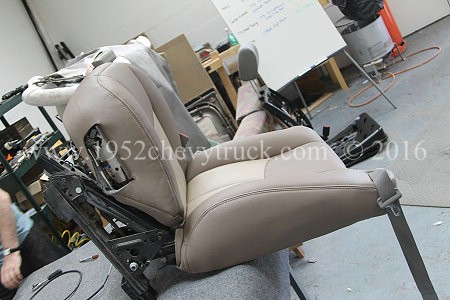
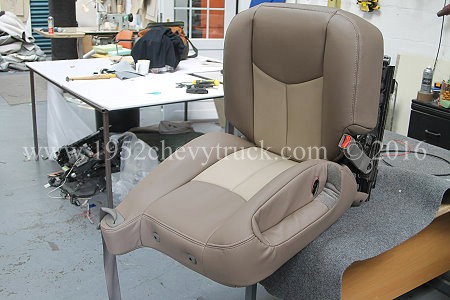
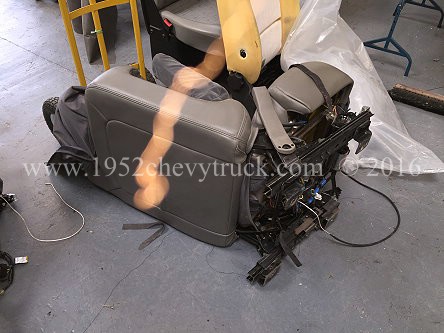
The seats in this truck were from a GMC Denali (my car seats were so comfortable I wanted the same in my truck)
but at the time I could only find them in grey. My car seats are 2 tone beige and this was an ideal colour
to match the cream paint work on the truck. The upholstery company found a perfect match in a modern
"leather type" material. The seats could have been done in leather but there are now some modern materials
which are very similar and do not crack or deteriorate like leather and need no maintenance. At first I was not
sure but after seeing some seats done in this type of material I decided to go ahead. The upholsterers said they
were the most difficult, complicated seats they had ever done. They also had a specialist partner to paint the
plastic sides. A high gloss finish in a colour the same as the darker beige was chosen. The centre console was
painted the same colour. The sun visors were painted the lighter beige colour. I was not sure whether the sun
visors would be best in the light padded nylon, same as the headliner, but decided to have them painted and
see if I could live with them. I can always cover them later if preferred.
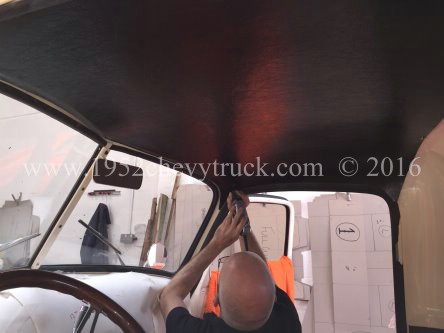
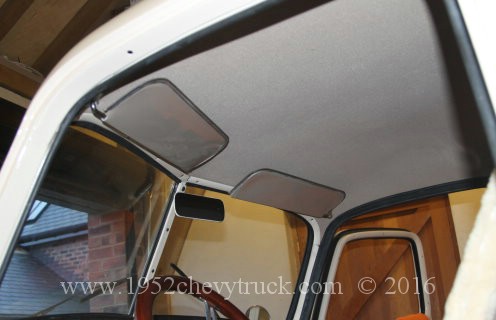
The headliner.
The headliner needed to look like it was something a car manufacturer might have fitted and to keep the
truck as light as possible a light colour was chosen. The material was foam backed nylon. In fact I wanted
the headliner to be the same as in my 2005 GMC Denali and that is what was achieved. This was a very difficult
project. The single piece ABS headliner board purchased from "Jim Carter" truck parts takes a great deal of
modification to make it fit. Indeed it took two of us, myself and Steve from the upholstery company 5 hours
to fit the headliner. The ABS flexible liner is too big and has no holes drilled for the sun visors or
rear fixings. Cutting the width to size using a "Dremel" by trial and error, took ages, trimming a bit at
a time, try to fit then modify again .... Countless times. The liner must be trimmed so that it fits
inside the side rubbers above the doors. It also needs trimming around the front corners. Holes have to
be lined up and drilled. I am not sure it could have been done without the old headliner acting as
a template for the holes.

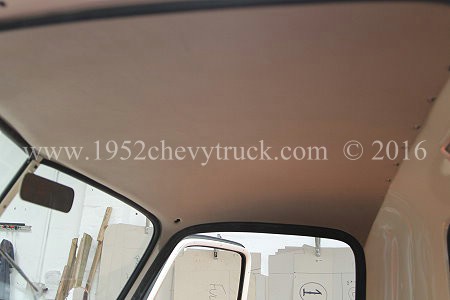
The old brown headliner was useful as it could be used as a template for the rear fixing holes and the sun
visor holes but there was a limit to how much it helped. It was still very much trial and error, trimming
and adjusting many times. Once the ABS headliner fitted perfectly it was removed and the padded nylon was
fitted. The finished headliner was fantastic and exactly what was planned.
The new headliner is shown below.
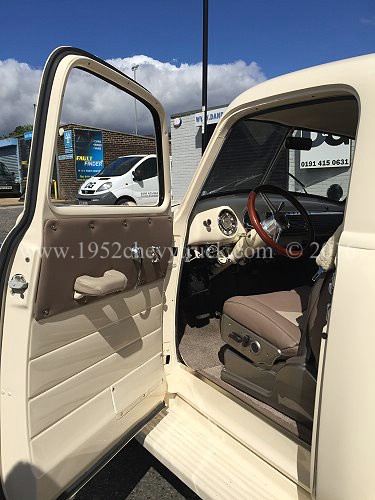
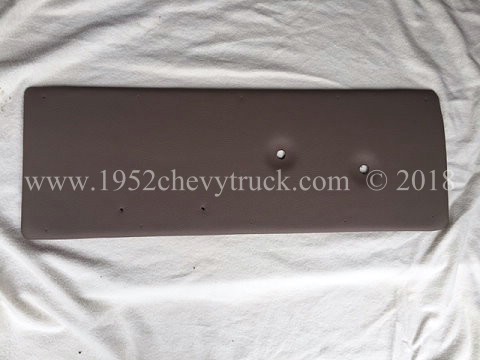
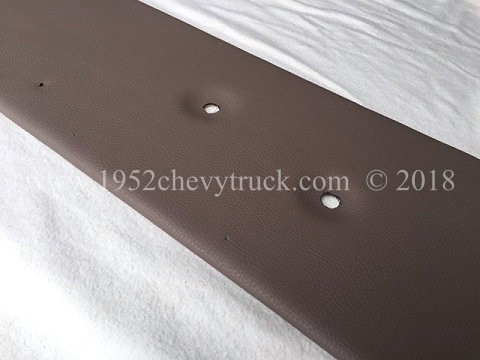
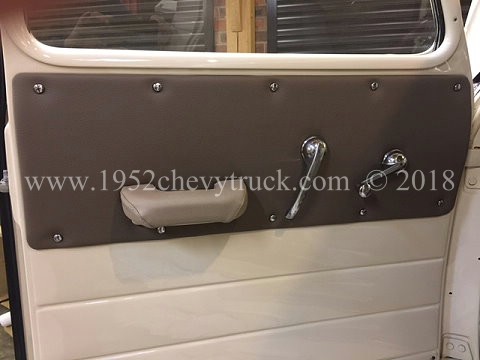
Door panels and arm rests.
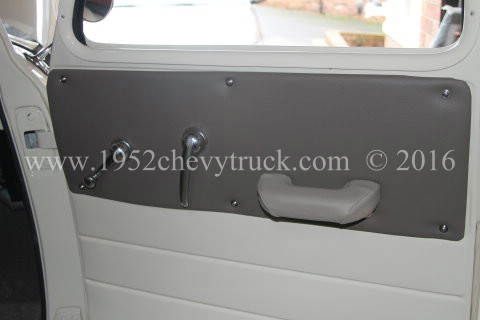
The door panels were covered with the same material as the seats in the darker beige and the arm rests were
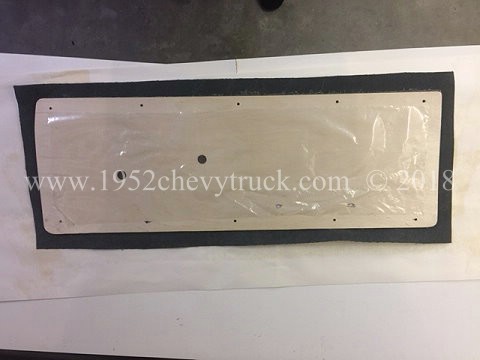
covered in the lighter beige seat fabric. New door panels were made from ply wood and covered. The inside
of the panel was covered with thick polythene. It was very important to have a moisture barrier on the inside.
See the update below where the door panels were remade to a higher standard.
Centre console and seat trimmings.

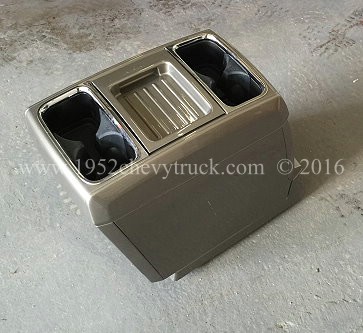

These items were all painted by a local specialist paint shop. They paint small parts to a high standard.
Clearly this type of company tend to deal mostly with custom painting of parts on motor bikes.
They are on the Team Valley Trading Estate in NE England and are called "North East Custom Coatings
The cost of painting these parts was about �300.00 (about $400)
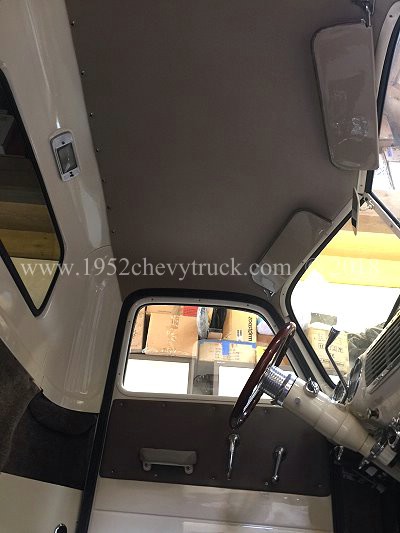
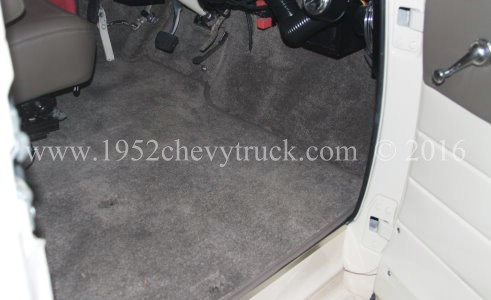
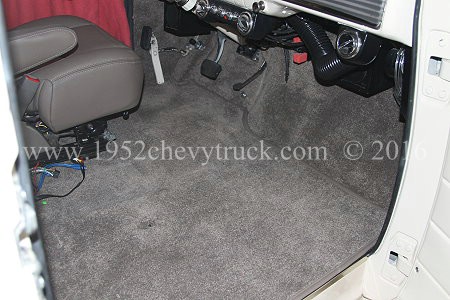
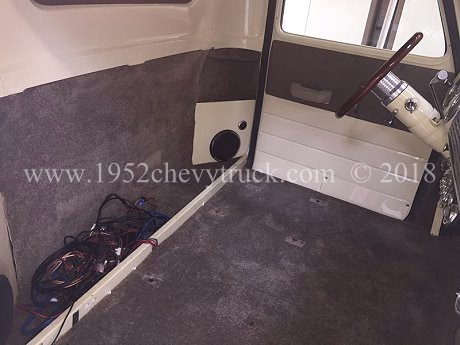
Carpets.
A matching carpet close to the darker beige was chosen. I could not find a specialist "car carpet" in a colour
which was close so I chose a household carpet. 1L of liquid rubber was purchased and brushed onto the back
of the carpet. This helped bond it together and provided a waterproof backing.
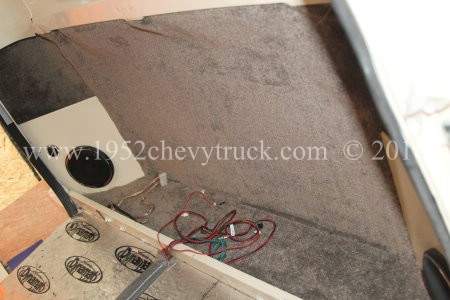
The same carpet was used on the rear of the cab behind the seats and on the kick panels forward of the doors.
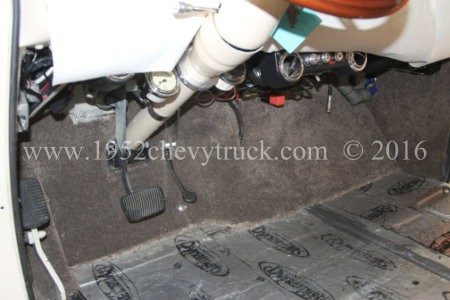
The biggest problem was access to the battery through the floor. Putting a pull-up square in the carpet did not
sound like a good idea as it would look pretty bad. It was decided to cover the firewall with carpet and then
have the floor carpet come to the bottom of the firewall. Vinyl edging was sown along the edge were it met the
firewall carpet. The vinyl edging was the same dark beige as the seats. This approach meant the carpet could just
be folded back to provide access to the battery.


The carpet came from "Whickham Salerooms" Whickham, NE England. It cost about �100.00
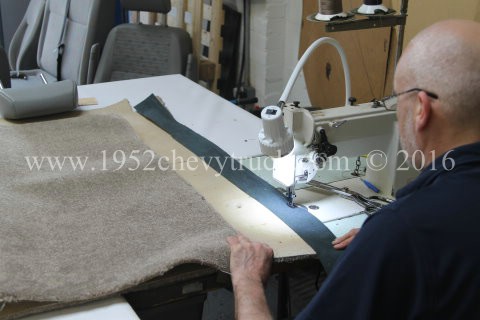
The Liquid latex came from "Amazon" and cost about �20.00 The carpets were fitted by
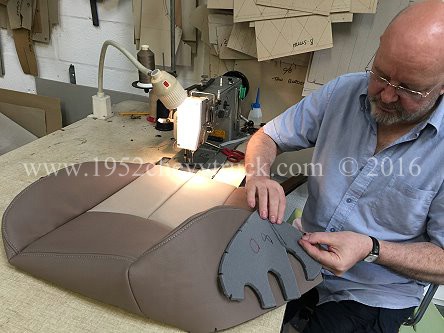
upholsterers and the attractive matching edging trim was provided and sewn on by the
upholsterers. The top left picture above shows the sewing of the edging trim to the carpet.
Chrome step edging.
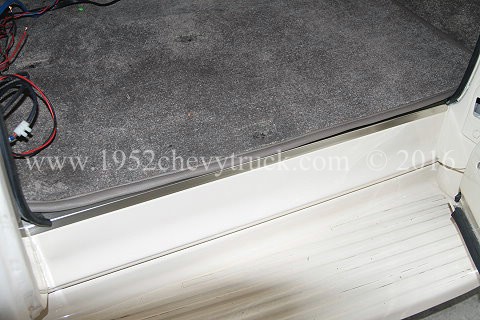
Plastic chromed angle from B & Q DIY stores was perfect for the edge of the step. It was fitted with double
sided adhesive tape. The carpet was mostly on top of it but it formed a vertical Chrome edge between the
carpet and the cream truck. Looked very good.
The upholsterers.
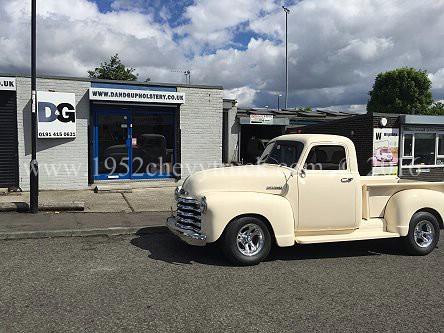
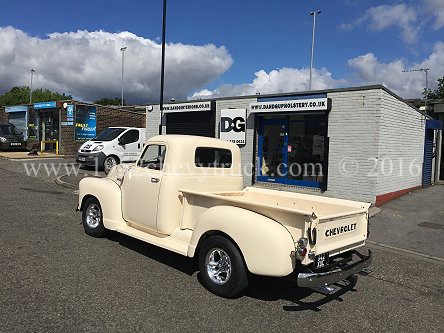
The advice provided by D & G Upholstery in Washington UK was excellent especially when it came to the difficult
job of colour matching. The work they did on the seats, headliner and everything else was also excellent.
It is a family business and they are very nice people. They listen carefully and they are very skilled.
The whole job took about a week. The total cost for the labour (including the 5 hours working on the
headliner which did not fit) was �1400.00 (about $1800) but this included some materials - the
headliner padded nylon, the seat covering materials, the door panels and arm rest coverings were
included. The painting of the plastic seat panels, centre console and sun visors was not included as
this was done by another company as detailed above. I provided the carpets but the cutting and
fitting was included. Considering I was quoted �660 by another company just to change the colour
of the original leather seats and over a period of time this would start to chip off, I was very
happy with this price. This job was quite complex and I believe the only way of ending up with
exactly what you are looking for is to visit the upholsterer regularly and even participate in the
work if it looks like instructions alone may not be enough. This was particularly important when
fitting the headline and the parts provided needed to be substantially modified to make them fit.
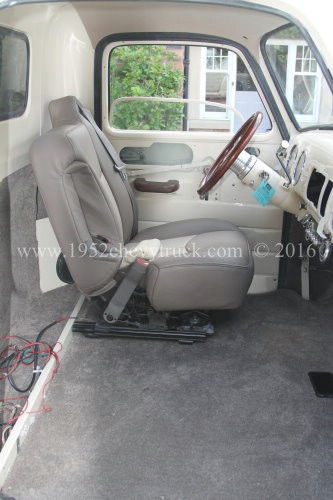
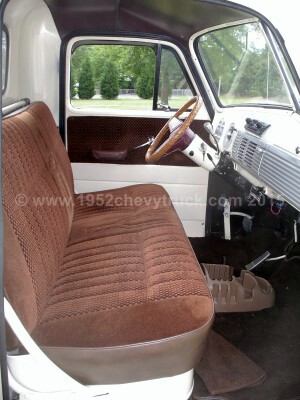
It is interesting to compare the truck interior before (bellow left) when I purchased it
in 2007 with the truck now in 2016 (below right). Pictures do not show the increase in
comfort. The old bench seat was not very comfortable. The cab is now much lighter.
The seat belts improve safety. The old brown carpet and headliner have gone.
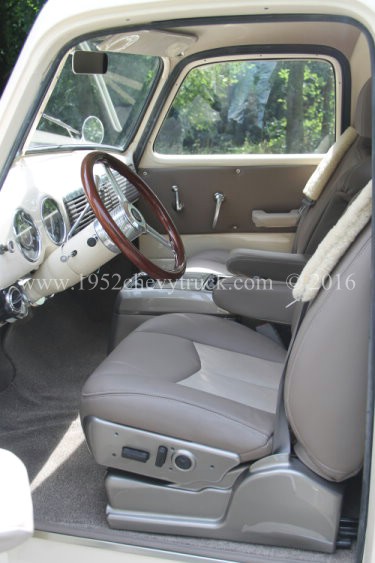
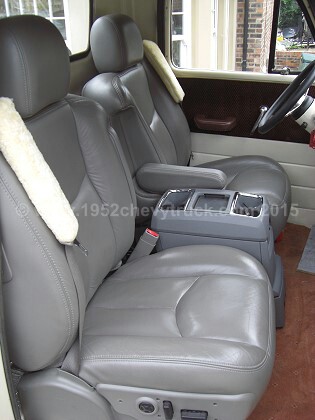
It is also interesting to compare the truck interior before (bellow left) from 2009 - 2016
with the new interior in 2016 (below right). The grey leather seats did deteriorate a little
in 6 years but were still very good. The problem was that grey was not an ideal match for the
truck. In addition, the cab is now lighter with a much better headliner and improved door panels.
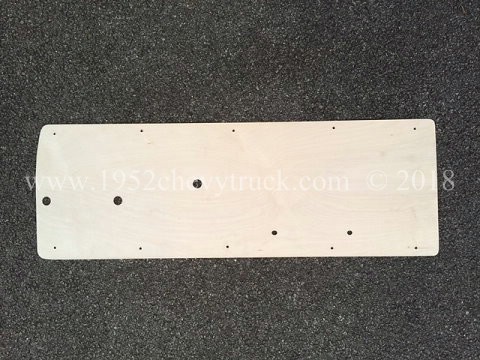
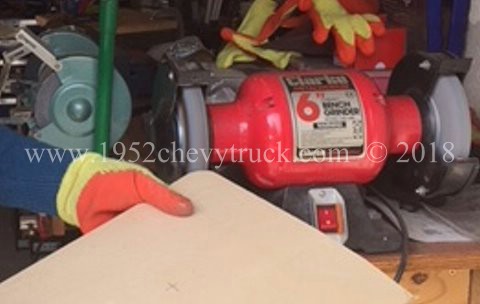
Update 2017 Re-making the door panels and also solving the "handles dropping off problem".
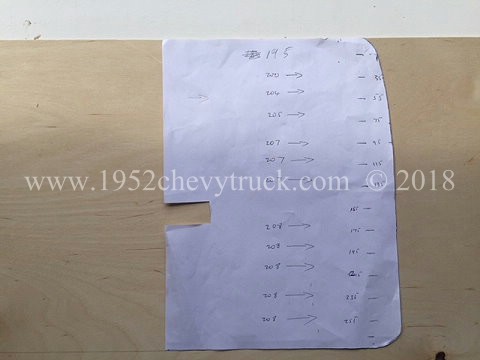
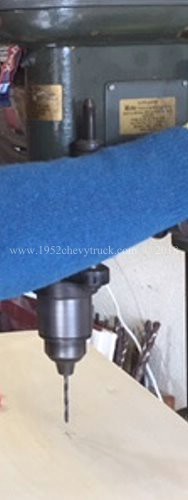
2mm ply wood is used but first a paper template of the end profile. Then the holes for the handles are located and drilled.
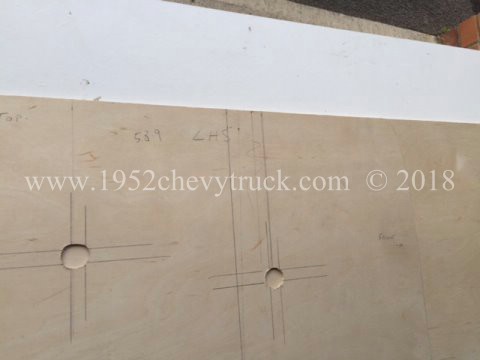
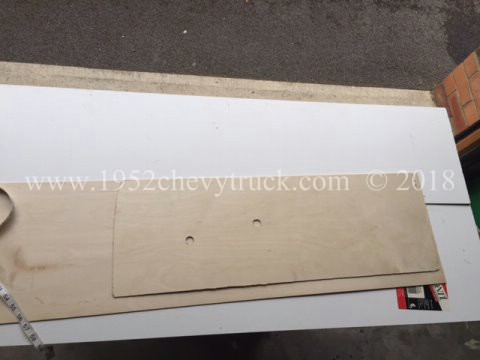
Spray adhesive onto the wood is used to fix the material and the vapour barrier. Top left shows the wood on the sponge.
Below right notice the sponge is not near the handle holes. Larger circles were cut in the sponge near the handle holes.
Here only the material is stuck on the wood to make it as thin as possible near the handles. It is important to make sure
the thick sponge does not try to force the handles off the splines. Above left notice the extra hole on the left added
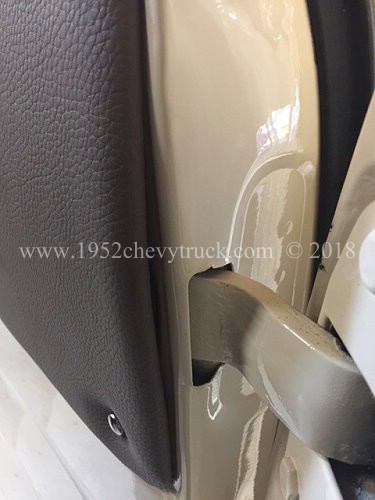
later as a door bolt pushed the panel out but it now goes into the hole. The problem is detailed and shown below.
Notice (below middle) how the panel was pushed out by a protruding door bolt but an extra hole (detailed and shown above)
in the ply wood eliminated this problem and the door bolt sank into the panel resulting in the panel being flush with the door.
The definitive guide to stopping your door handles from dropping off.
The door panel. The door panel needs to be thin, 2mm ply is ideal and there needs to be a circle
of no sponge under the fabric where the handles fit on. If you can see a gap between the panel
and the handle, this means there is no pressure from the sponge trying to push the handle off.
"Loctite thread lock" on the grub screws.
"Gorilla" tape. Take a small slither of Gorilla double sided tape and put it in the slot on the
shaft where the grub will locate. Clean the slot with panel wipe or similar first and make sure
the thread lock only goes on the threads and not on the end of the grub screw. The Gorilla tape
will compress when the end of the grub screw is tightened against the shaft in the slot.
Drilling. If a spline is worn, drill a hole so that the grub screw goes partly into
the hole and use "thread lock" as well. One of my four splines (right hand window) was
worn and needed the shaft drilling.
Brush pile from the "The Hairy Worm" ( www.thehairyworm.co.uk ).
Without it there is considerable vibration. When the window is down or partly down there is
considerable shake and even when fully up the window vibrates at the bottom. Brush pile holds
the window (which is connected to the regulator and the rest of the door) firmly in all
positions and eliminates most of the vibrations which encourage the handles to drop
off in the first place.
If these measures are implementing the problem of handles dropping off should be eliminated.