If the under bed fuel tank had been fitted where the spare wheel is supposed to go,
fitting a spare wheel here would not have been an option. By going for the more difficult
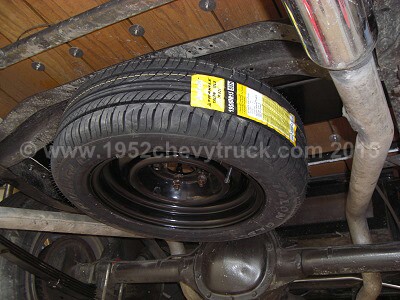
option of fitting the fuel tank forward of the rear axle, there was plenty of room behind
the axle to fit a spare wheel. Space savers were considered but these have speed restrictions.
It was decided to fit a 15 inch wheel that was 6 inches wide and use a smaller tyre. The alloy wheels fitted at the
moment are 15 by 7 inches, front tyres are 225/60/R15 and rear 235/75/R15. Next year, after painting the truck,
the wheels will be changed to 16 by 7 inches alloys of the same style. The spare wheel is steel and a more
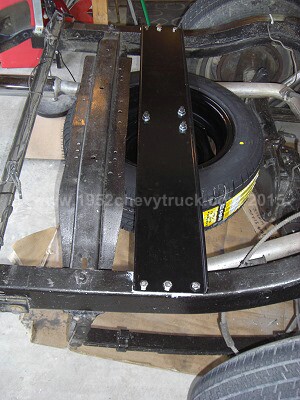
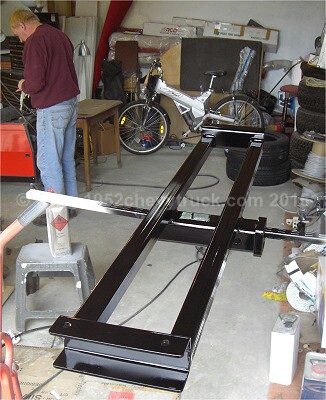
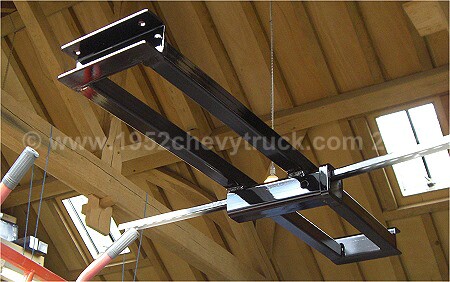
compact tyre of 195/60/R15 was fitted. Steel channel was fitted across the chassis. 3 studs were bolted to
it and three wheel studs hold the wheel to the channel The studs use the same sized socket as the normal wheel
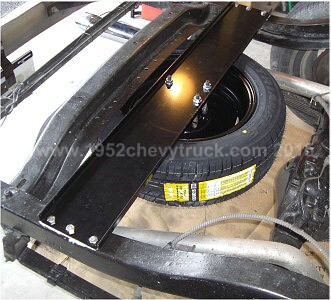
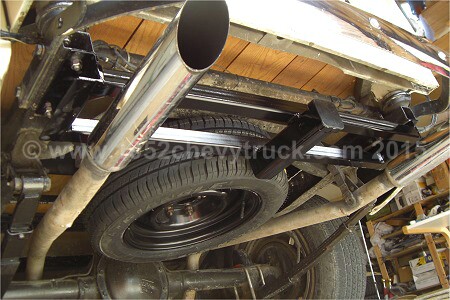
studs so a common tool can be used. This is a simple fixing method. If there is a puncture, the spare wheel
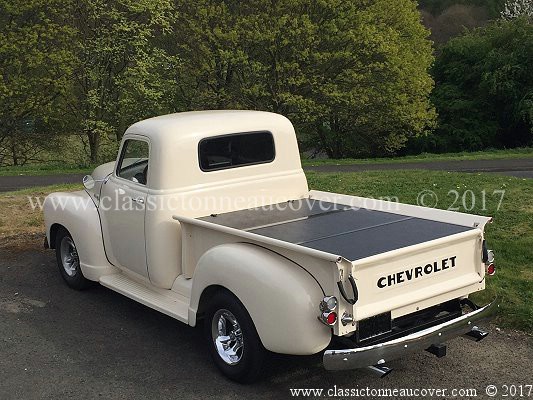
is dropped and fitted. The wheel / tyre that comes off and has a puncture is simply put onto the truck bed
until it is repaired and re-fitted. This modification along with the large fuel tank and the many
modernisations enable the truck to be used for fast, comfortable long distance journeys. That has always
been the aim but there are more modifications still to be done before this will be fully achieved.
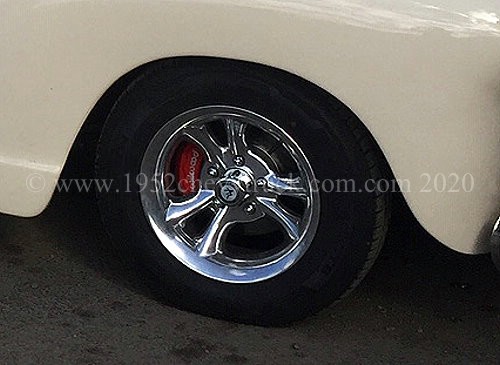
Update 2020 The spare wheel has always been ideal and not changed. A number of wheels and tyres have
been tried but finally the type chosen were 15" Ventura wheels from "American Racing" at 8 inches wide.
These rims have the deepest "dish" available and larger diameter wheels do not have such a deep dish.
Many people fit larger diameter wheels these days but the 15 inch Ventura wheel with it's deep dish
looks very good. The tyres are 235/60R15 98S TL Nankang Rollnex Cross Sport SP9.
The "60" profile helps keep the truck low on a 15" wheel. See picture below.
Fitting a 2-inch receiver.
We have some important criteria for this part of the project -
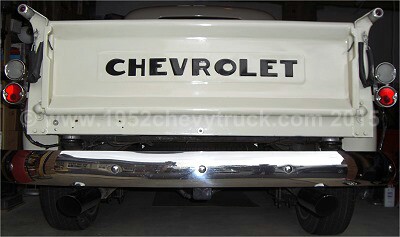
1. The hitch must be very discrete and the part that does show must look good.
2. The hitch must be easily removable and be fitted with 4 easily accessible stainless steel bolts.
3. Whilst it is highly unlikely it will be ever used for towing, it must be strong enough to do so if needed.
4. Its main use would be to attach accessories like bike racks and storage boxes etc.
If there was a need to carry items that might scratch or damage the bed (maybe tools and steel parts for the truck,)
they could be carried in the storage box. Another point to note is that if the spare wheel had been fitted in the
original position as per 1952 spec. there would have been no room to fit a 2-inch receiver. Fitting the spare
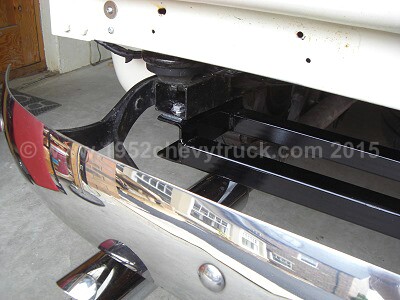
wheel closer to the differential created the space for the hitch to be added. The hitch was made with 5mm thick
channel at the ends and 5mm thick steel box sections. The box sections were 40mm by 40mm box. A female 2-inch
receiver was reduced in length and welded across the two box sections. The completed unit was etch primed,
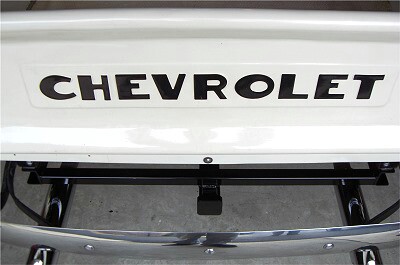
primed and then three coats of gloss black applied. To maintain the discrete appearance, the receiver was
set well back from the rear bumper In use a short extension will be used to extend the receiver backwards
beyond the rear bumper. A receiver blanking plug was finally fitted.
Update 2020. Nothing on the truck from these 2007 modifications has needed to be changed, everything
has been great with no problems. Also note the bolt-on frame for the 2" receiver fitted to the rear of the
chassis frame considerable strengthens this part of the frame.