1. Introduction.
Almost 10 years ago there was a major strip down, this was a full front end strip down to the chassis. At the time
a "Speedway Motors" ifs (independent front suspension) was fitted. Now in 2019, a similar strip down, planned for
about two years is now completed. Like last time it was a strip down to the chassis as the original ifs cross
member needed to be removed. In Nov. 2018 a "TCI 1947-53 Truck Custom end to end ifs" with power rack was
purchased whilst in the States. Some of the parts were brought back by air and the rest followed by ship
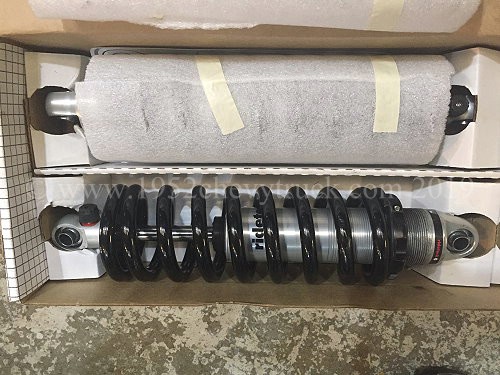
which arrived in January 2019. It is not possible to bring back shock absorbers by air as they contain
gas and some of the other parts would have exceeded the weight limit.
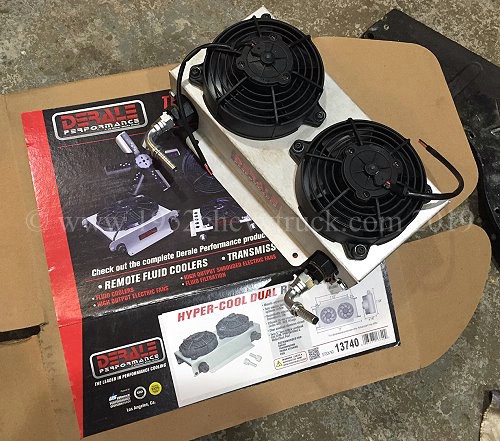
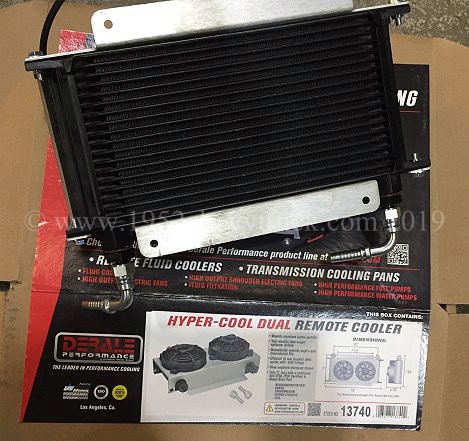
In addition to the new ifs, a Derale transmission cooler was also purchased in the States and brought back on the plane.
See the new page about the new improved cooling package including an interview with the CEO of "US Radiators".
I was also able to talk to Derale representatives at their trade stand in the SEMA Show in Las Vegas in Nov. 2018.
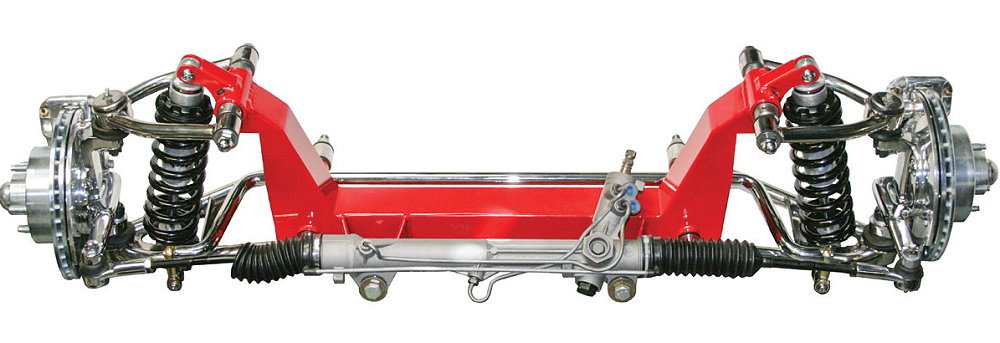
2. Is TCI the best ifs available?
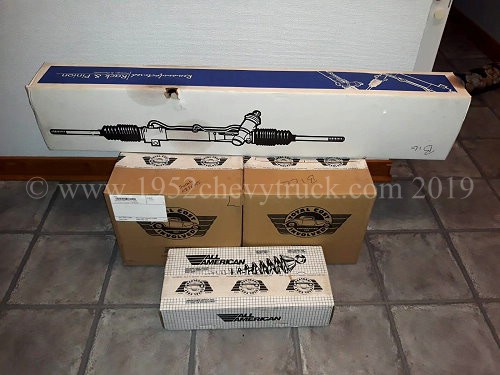
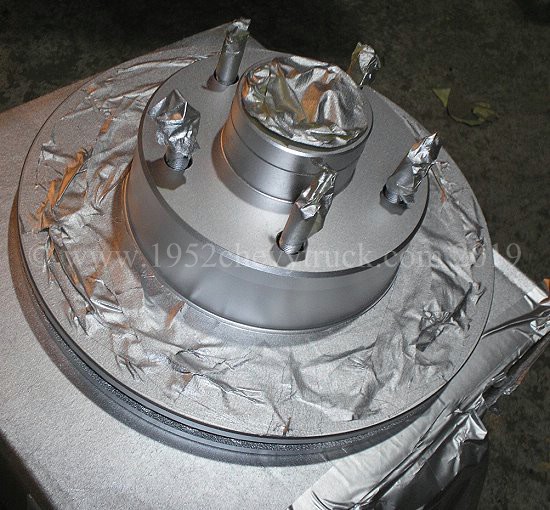
The parts shown above, the shock absorbers, the power rack and the two disc brake kits followed by sea to the UK.
The parts shown below, the frame box-in plates, the anti-sway bar, the suspension arms and the Derale 13740
transmission oil cooler (shown above) were brought back from the US by air to the UK.
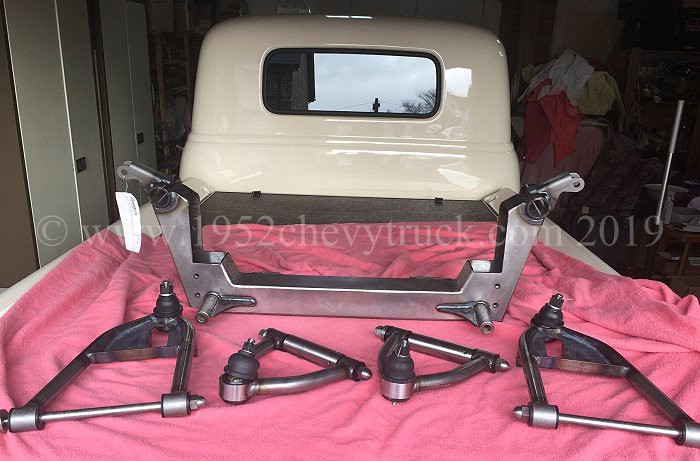
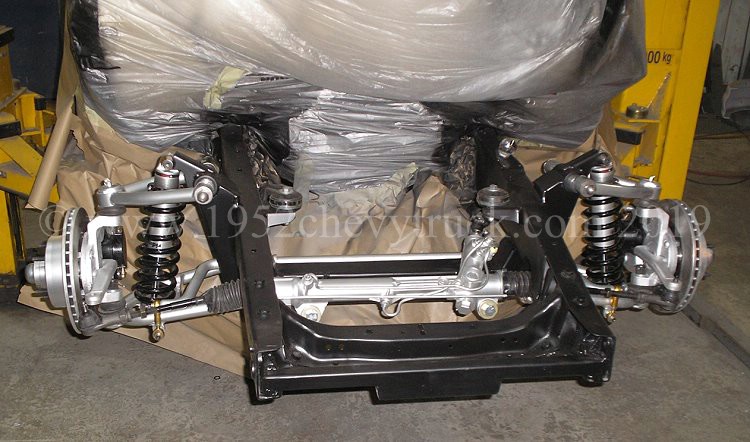
The TCI ifs is probably the highest quality kit available for several reasons -
It uses a 1-piece cross member. That means once it is welded in, all of the relative distances have to be correct and
everything therefore bolts on exactly in position as designed by the factory.
Setting castor and camber is done by adjusting cams with an Allen key. The Allen key is easily inserted at the top of
the suspension. This is much better than using turrets with slots. There is always the danger with slots that they may
not be tight enough and could slip. Also access to the nuts which need to be tight under the turrets can be difficult
as the springs are in the way. Access to the Allen key adjuster is very easy at the top and it is a single adjustment.
TCI and Ridetech co-operated to produce a fully integrated design using some of the best coilover shock absorbers available.
The Ridetech shock absorbers are adjustable and have both height adjustment and hard or soft ride adjustment.
I was able to talk to Ridetech representatives at their trade stand at the SEMA Show in Las Vegas in Nov. 2018.
The whole end to end kit comes with a fully integrated anti-sway bar which goes behind the cross member.
This location keeps it away from the power steering rack. The sway bar is heavier duty than in other kits.
All of the parts, including the suspension arms, anti-sway bar etc. are heavy duty with thicker materials and of a
larger diameter than most other kits.
The kit comes with heavy, long steel shaped plates (shown above) to box in and strengthen the chassis. These plates are shaped
exactly to follow the lines of the chassis frame. A fully welded cross member with boxed in chassis is stronger than bolt together.
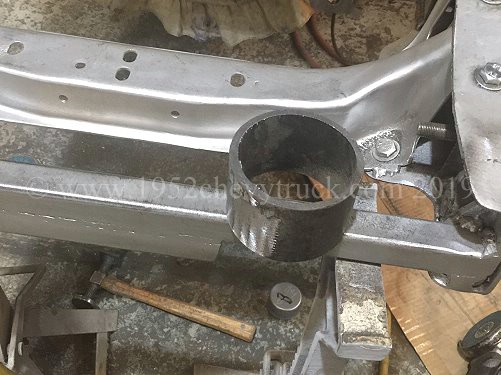
There were, however, three issues with this kit which need to be noted -
1. The chassis needs to have a couple of curved cut outs to provide clearance for the power rack. Curved steel parts to box
in these curves are not included. Cutting a steel tube (see below left) down the centre provides the two curves required.
2. The kit with the standard packaged disc rotors is 60� end to end. Many kits are 58.5� end to end. That means some types
of wider wheels or wheels with more negative offset may have clearance problems with the front fenders (wings).
Using 7� wheels with zero offset and 205 width tyres did not have clearance problems. If the more expensive Wilwood
brake option is chosen, these disc rotors (in the hub area) are 1� narrower than the standard disc rotors. This reduces
the end to end distance by 2" to 58� and a wider choice of wheel types and sizes is then possible. Whilst this issue
is detailed on the TCI installation instructions it does not seem to be detailed on their website. This is a $900 upgrade.
The cost of this ifs with standard disc rotors was about $3300 in Nov. 2018.
3. The standard GM brake calipers included with the kit were found to be disappointing and not as good as the rest of
the precision made high quality ifs. They were upgraded in Jan. 2020 and this is detailed below.
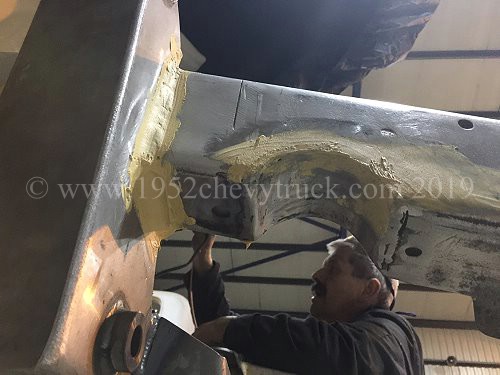
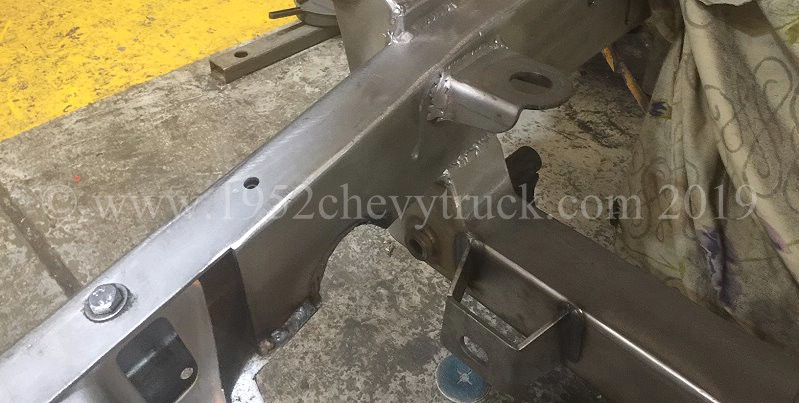
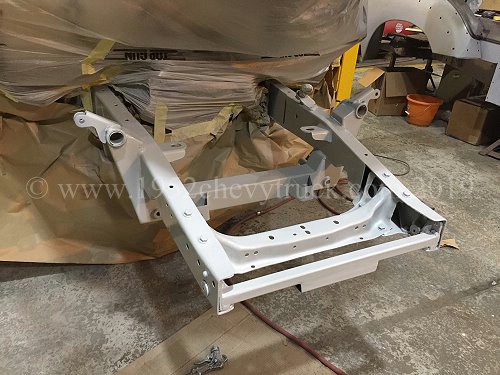
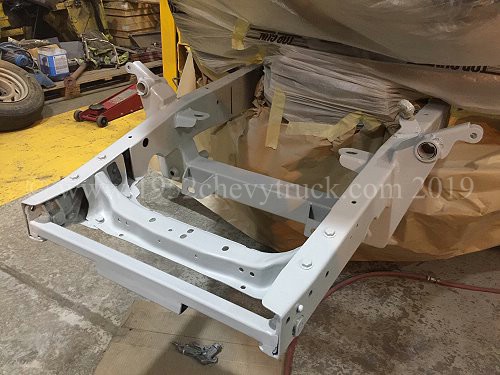
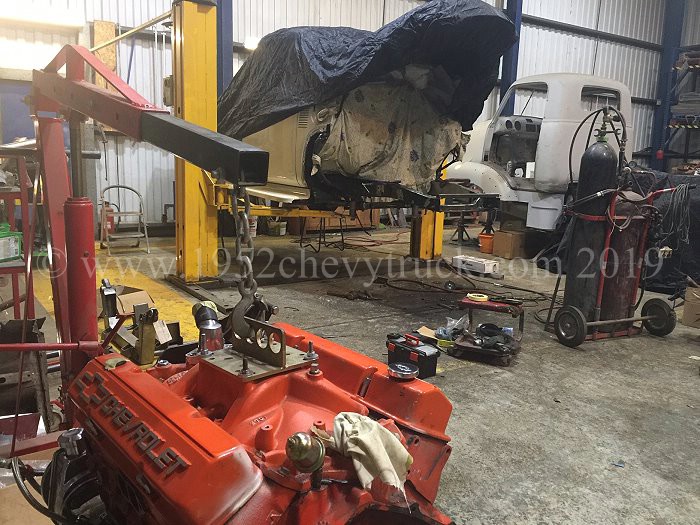
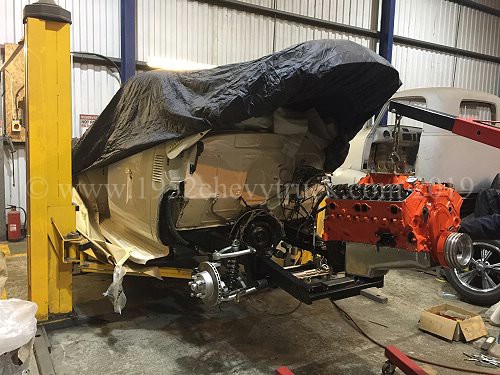
3. Preparing the Chassis.
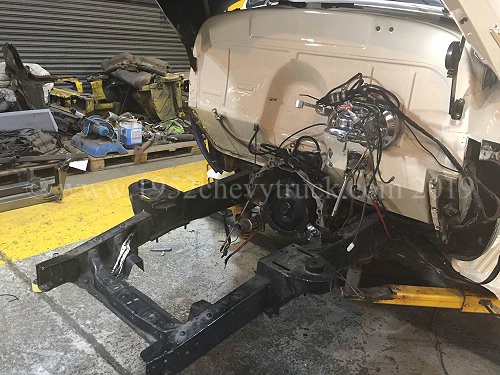
The truck was put on a 2 poster and the front end was stripped down to the chassis. That involved removing the front grill,
wings, engine and old ifs including cross member, turrets and any previous boxing in of the chassis. The chassis was
then prepared for the new ifs. The new shaped metal plates to box in the chassis were welded in.
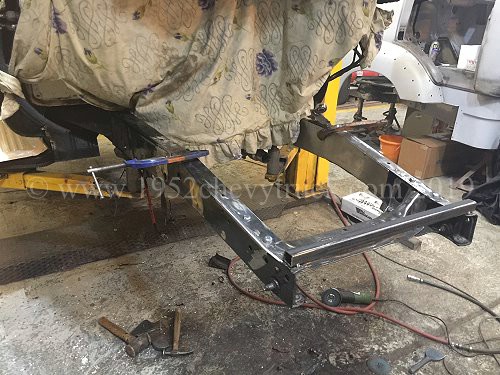
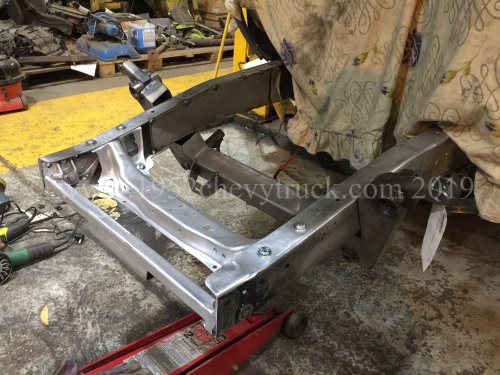
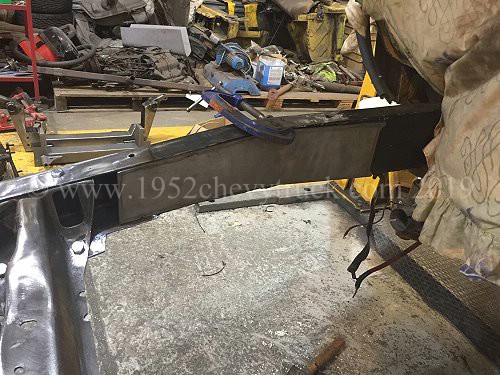
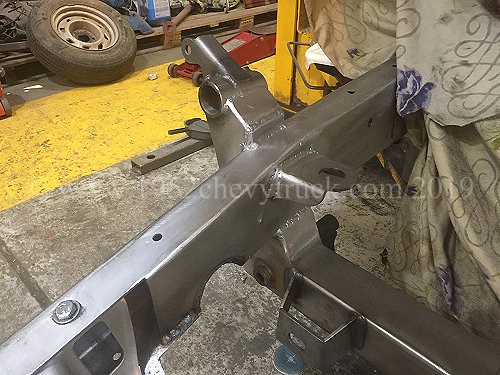
One of the problems with these trucks is the very poor access from below. It is very difficult to get even your fingers through
to access the power steering pipes etc. therefore one of the original cross members was reduced in width to provide much
better access. When there is a Mustang II cross member, which is very strong, the need for a full width original cross
member nearby is not needed. Also notice the cross member rivets were removed and replaced with bolts.
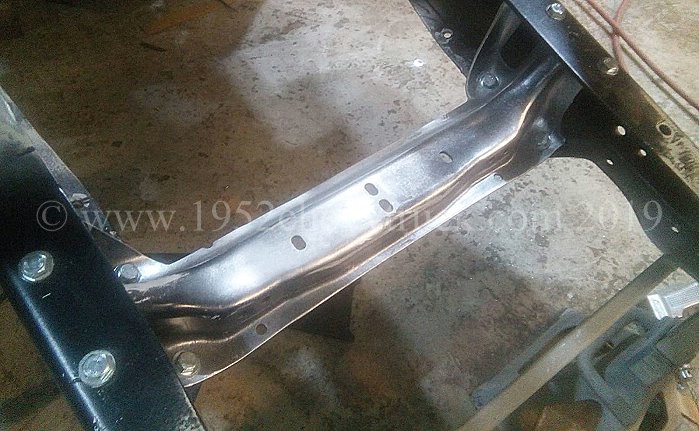
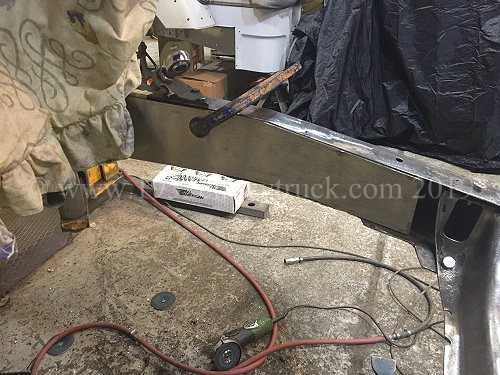
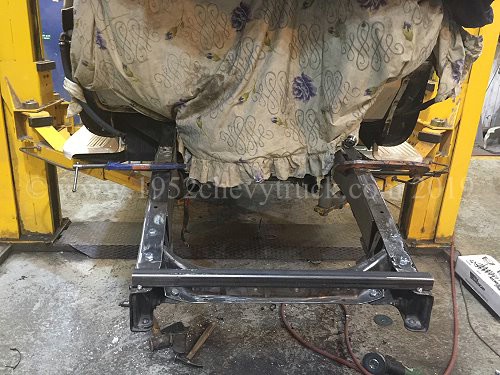
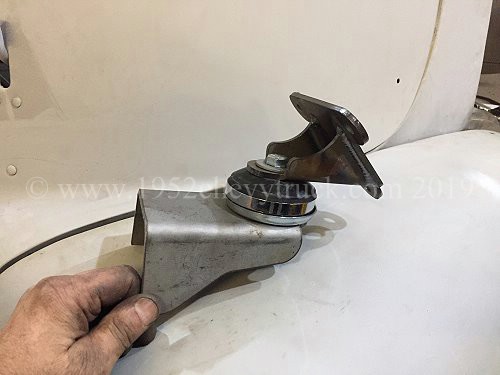
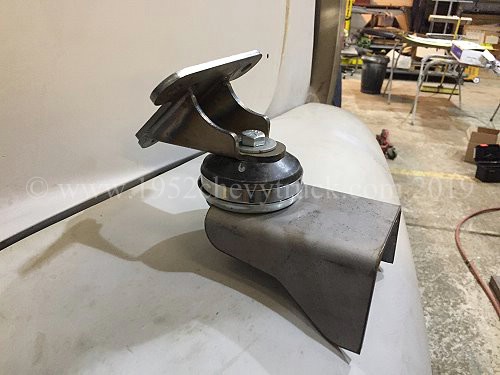
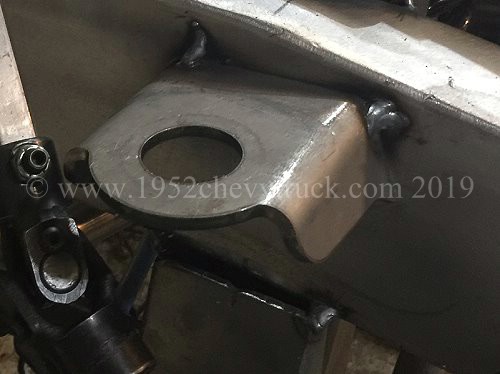
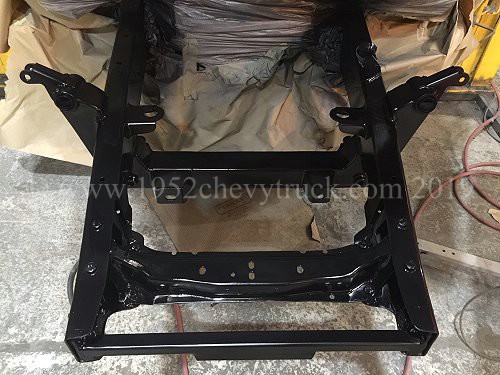
4. New jacking point.
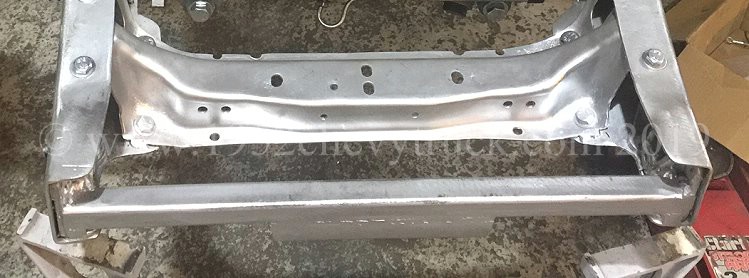
In addition, an extra cross member was welded into the very front of the chassis. This also can act as a
new jacking point so that the new painted ifs cross member does not need to be used as a jacking point.
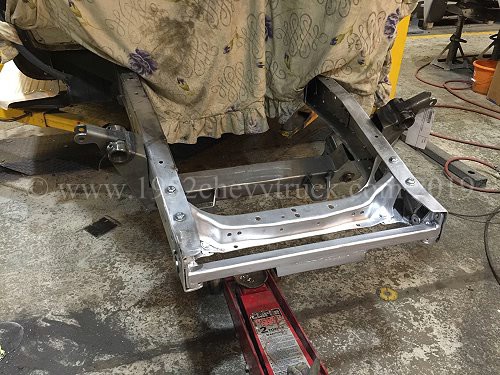
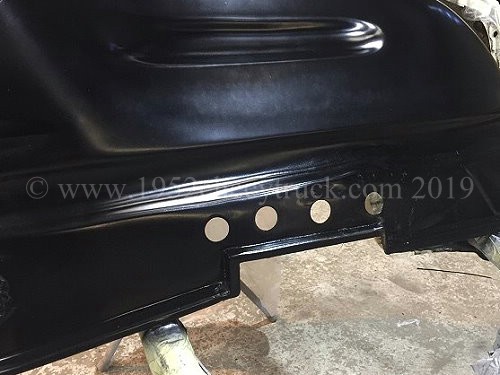
5. Holes for pipes drilled into the frame
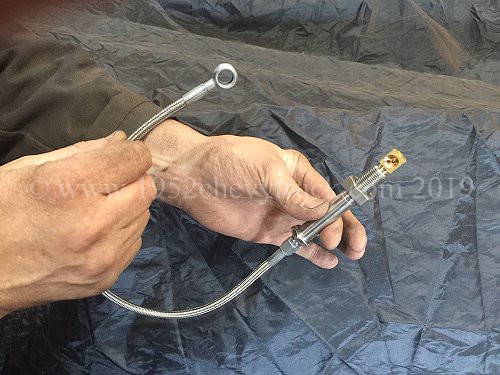
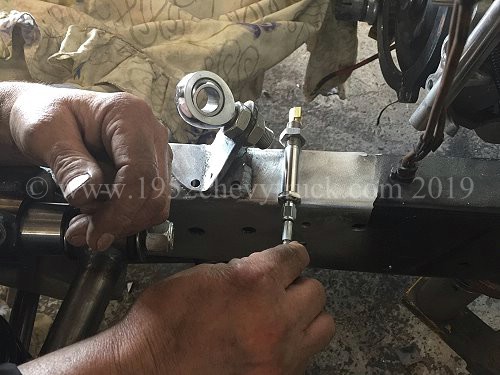
After the chassis was prepared, boxed in, curves cut and boxed in, cross member welded in, holes were drilled in the boxed
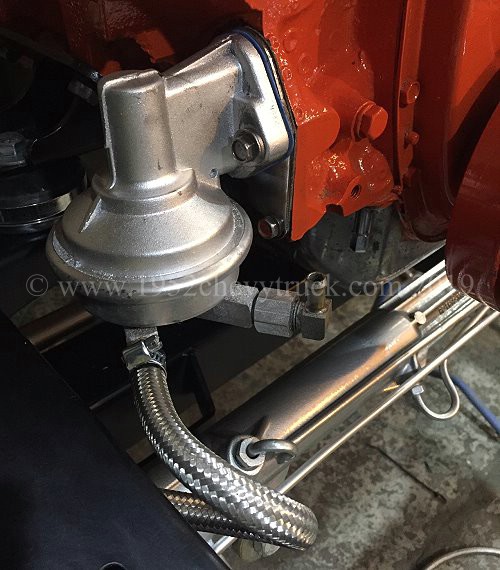
in chassis frame for planned pipes. A hole was made in the boxed in chassis for the flexible stainless fuel hose near the
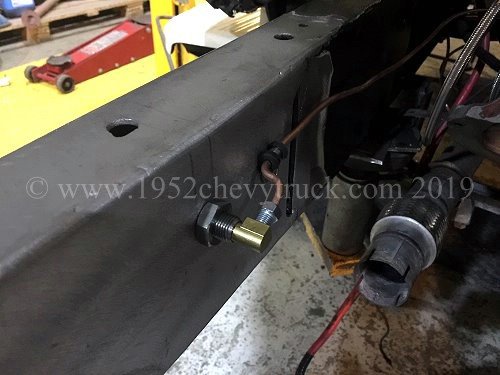
fuel pump. Behind the cross member, holes were drilled through the boxed in chassis frame rails for "through brake
connectors" so that at one end the flexible hose between connector and callipers could be fitted and at the other end of
the through connector, the copper brake pipes along the chassis rail went straight into the right angle union at that
end of the through connector. These parts came from Speedway Motors.
To summarise, the through connectors and right angle adapters go through the chassis. The flexible brake pipe goes on one
end and and the copper brake pipes running along the chassis go straight into the right angle adapter at the other end.
The Speedway Motors part numbers for the through connectors and right angle connectors are 910-31361 and 910- 91833

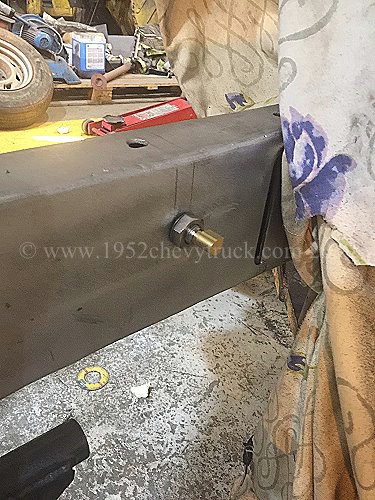
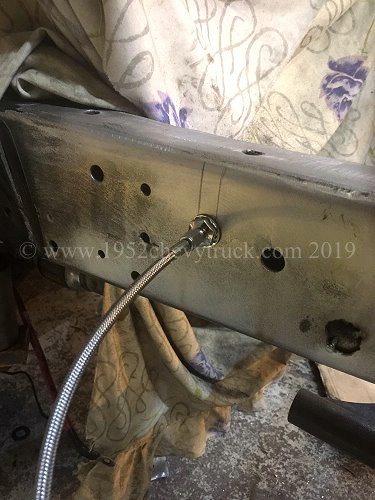
Below you can see the hole in the boxed in chassis frame for the flexible stainless steel fuel pipes to emerge from.
Planning ahead during the test fit meant the hole was in exactly the right place.
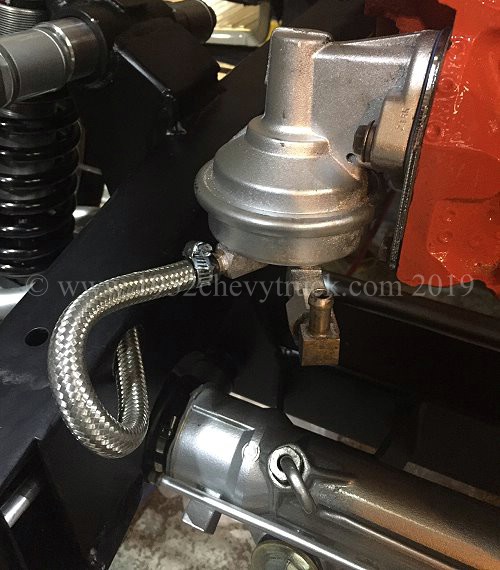
Flexible stainless steel fuel hose joins to the fuel pipes inside the boxed in chassis.
These pictures also show the fuel pump painted silver.
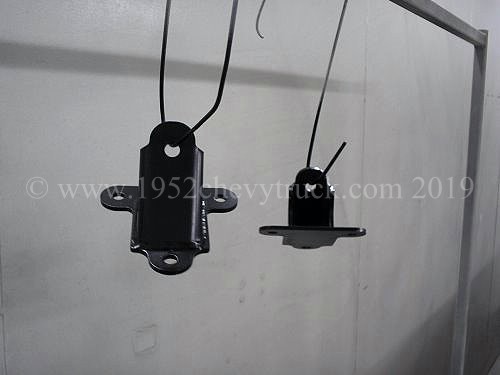
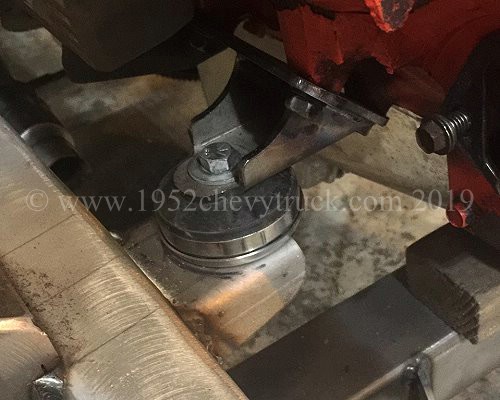
6. New engine mounts
While the engine was out, new improved engine mounts (From Highway Hell hotrods in Scotland) were fitted.
See the important notes on why these mounts are much better than alternatives on the page - comparing engine mounts.
7. Test fitting.
Everything was test fitted before stripping again and painting.
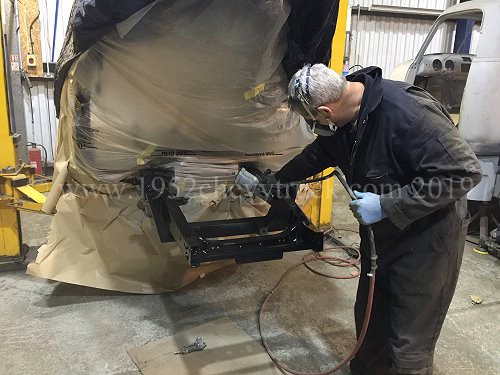
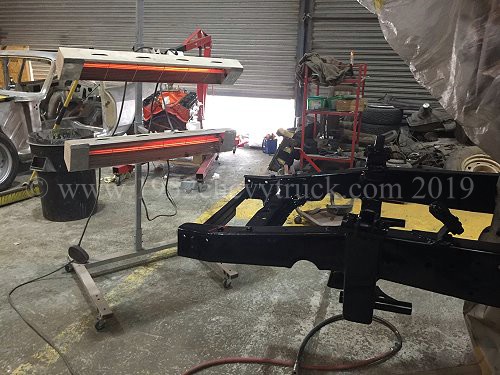
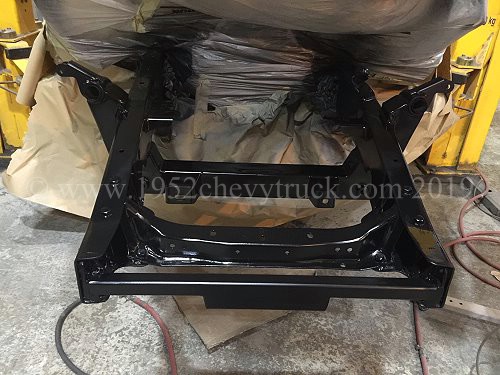
8. Painting the frame and the ifs parts.
After cleaning up the metal work, the chassis and ifs parts were painted with primer.
Everything, chassis frame rails, ifs cross member and original cross members, were then painted satin black.
Black is a good colour for the frame as it means all of the silver parts which were to be bolted on,
would stand out against the black background.
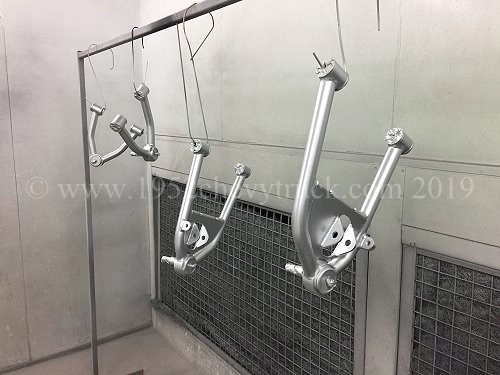
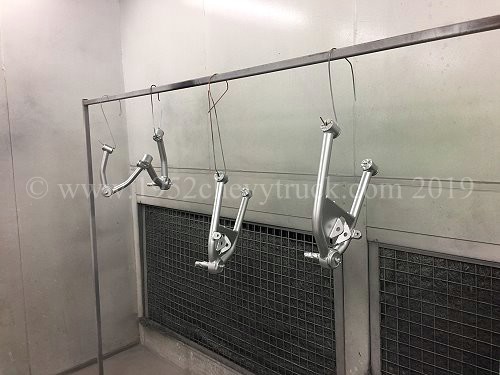
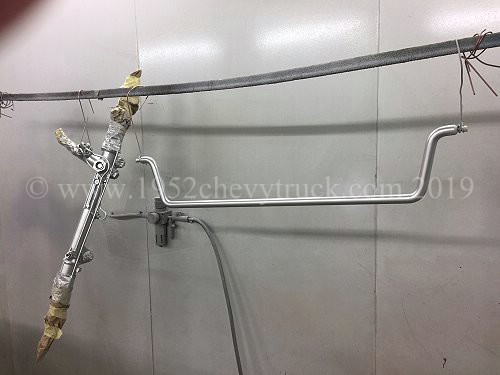
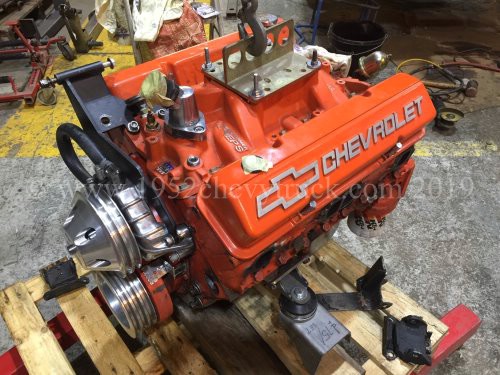
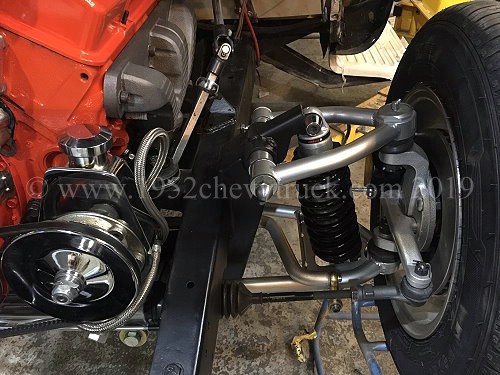
The suspension arms, spindles, power rack, anti sway bar and fuel pump were all painted 1950s Mercedes Silver Arrows
silver. Since there are a lot of chrome parts on the engine as well, satin black for the chassis and cross
member and Chevy orange for the engine set off all of these silver and chrome parts.

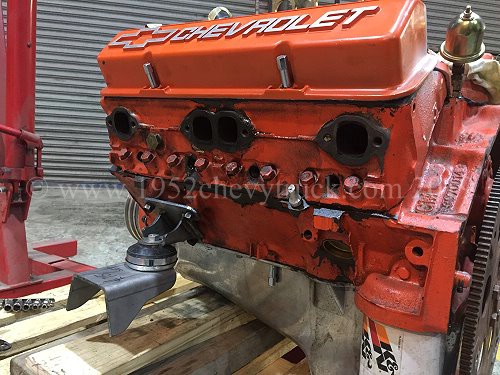
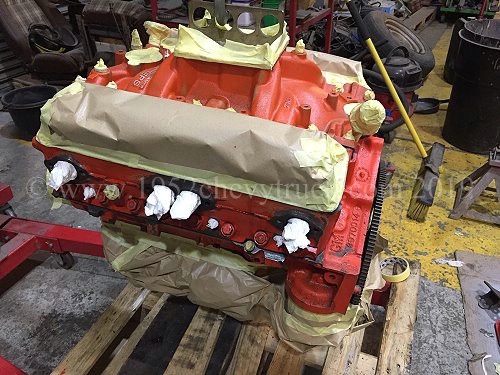
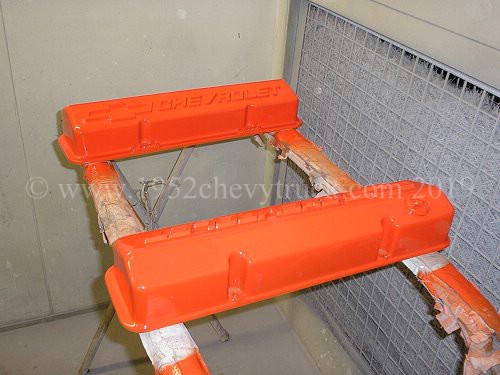
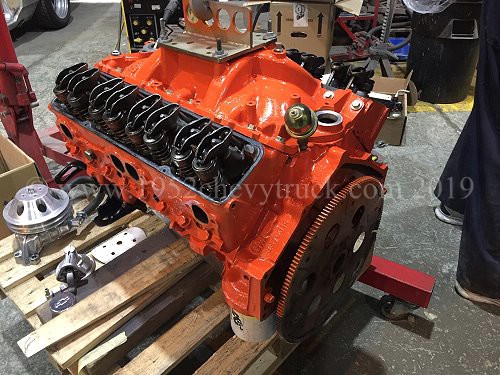
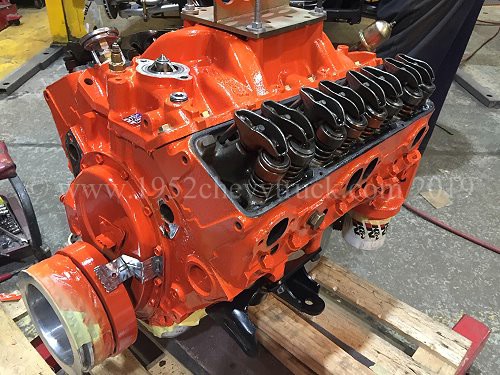
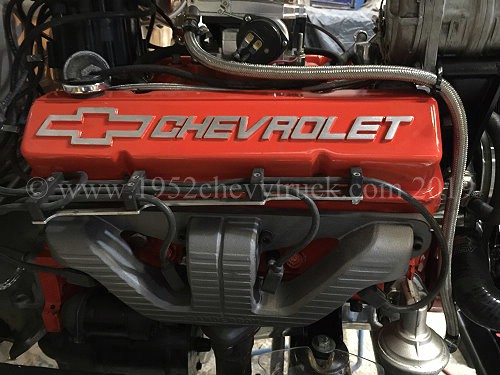
9. Painting the engine
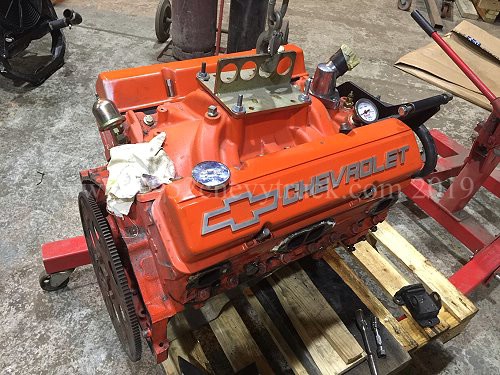
While the engine was out it was re-painted. Before this upgrade it was already Chevy orange and it was now
painted to a higher standard.
All painting was done in a large temperature controlled painting booth.
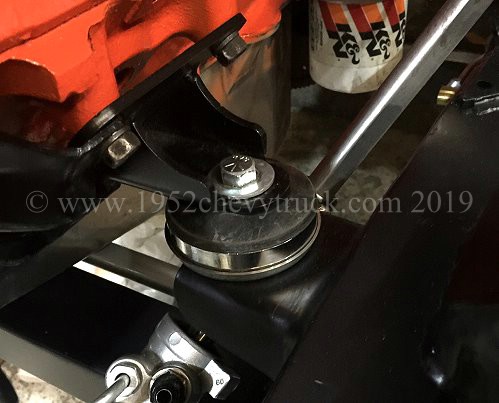
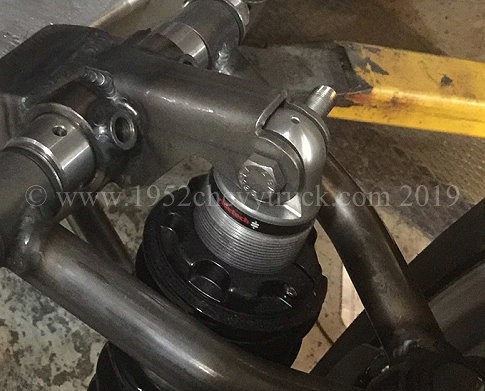
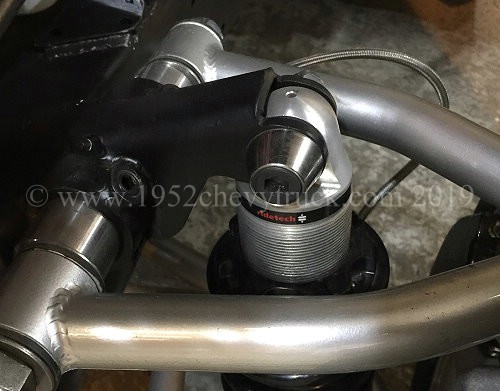
10. Special washers
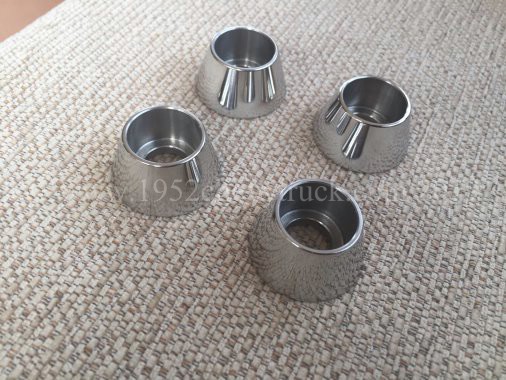
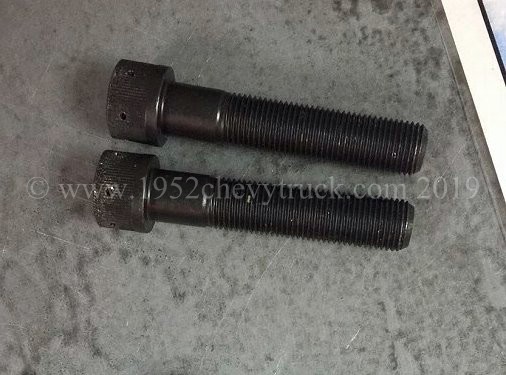
Special stainless steel washers were ordered from Wisbech Engineering Ltd. in Kings Lynn (UK) and longer 1/2� UNF bolts
(�1.00 each) with a shoulder and Allen key heads were sourced locally. The bolt heads exactly fit in the special washers.
These new bolts and washers replaced those supplied by TCI for the top of the suspension as shown in the following pictures.
The special washers were quite expensive at �5.50 each + shipping + VAT but were definitely an improvement.
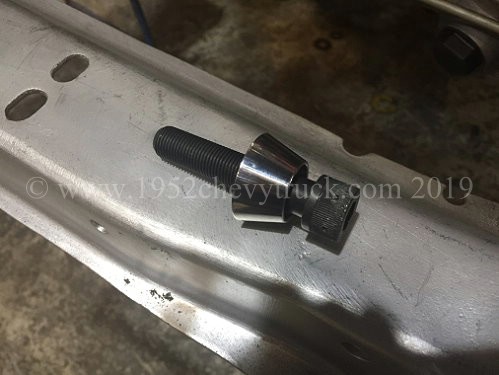
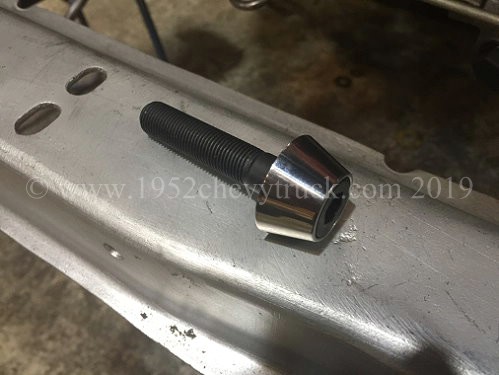
The pictures below show before and after. The TCI bolt on the left and the special washer and bolt on the right.
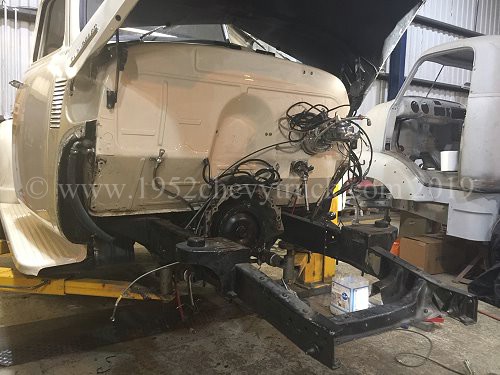
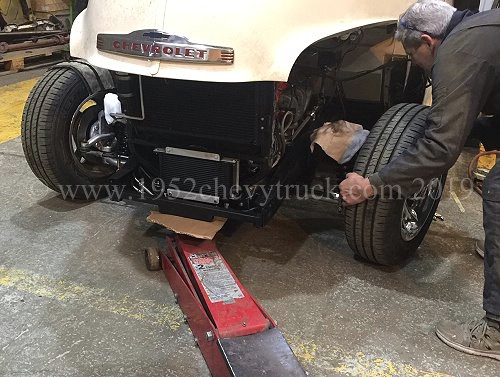
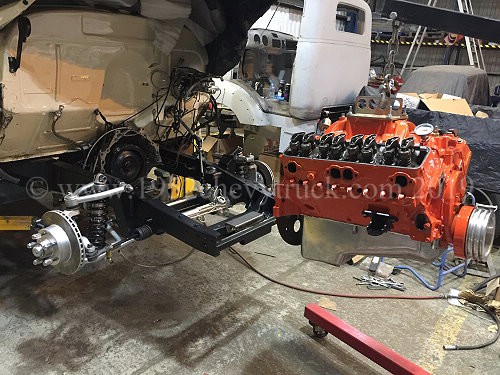
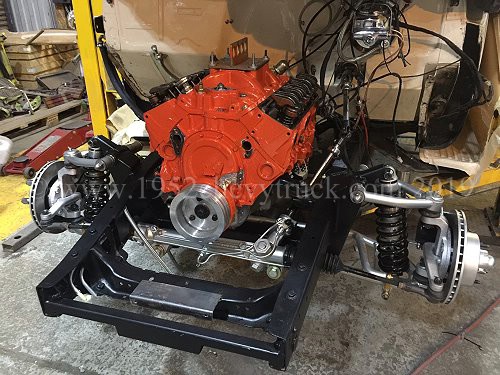
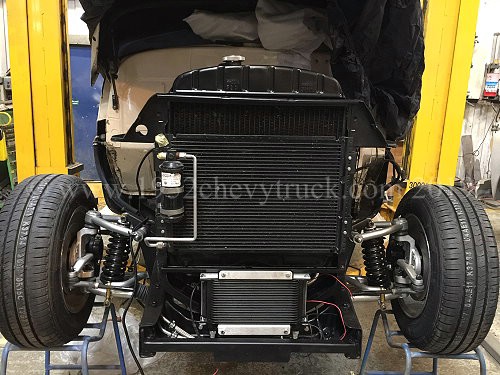
11. Assembly

Assembly started with the ifs parts all being bolted to the cross member, then the engine was put back onto the
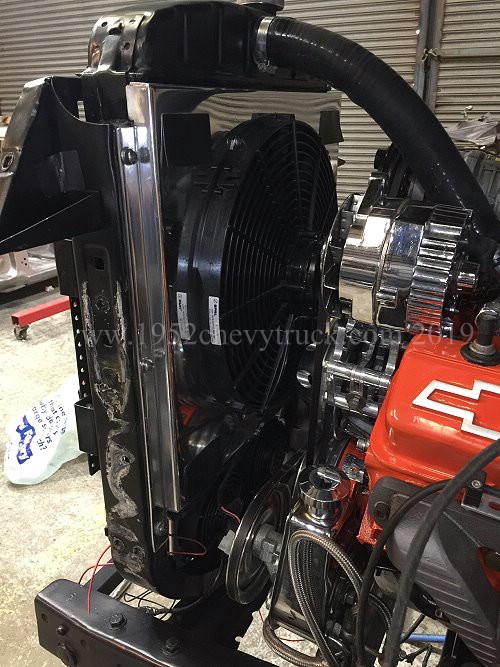
new improved engine mounts followed by the radiators, wings and front grill. A new shroud was designed, fabricated
and fitted for the electric fan, a bracket was made and the new transmission cooler was fitted. (Derale transmission
cooler with twin fans was about $180). Air conditioning and heater pipes were routed through the right hand fender
and reconnected. Some heater pipes were renewed. While the wings were removed, 4 large holes were drilled in the
inner wings to provide ventilation near the manifold / header to assist cooling.
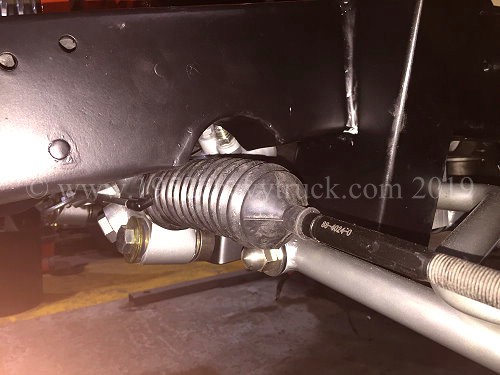
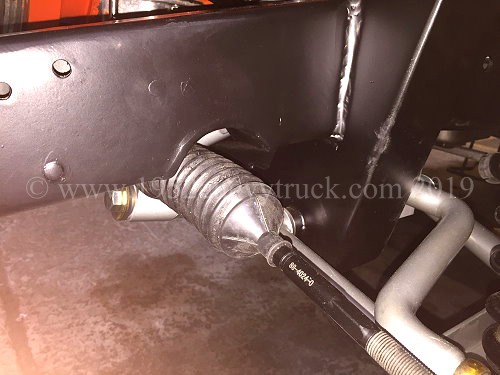
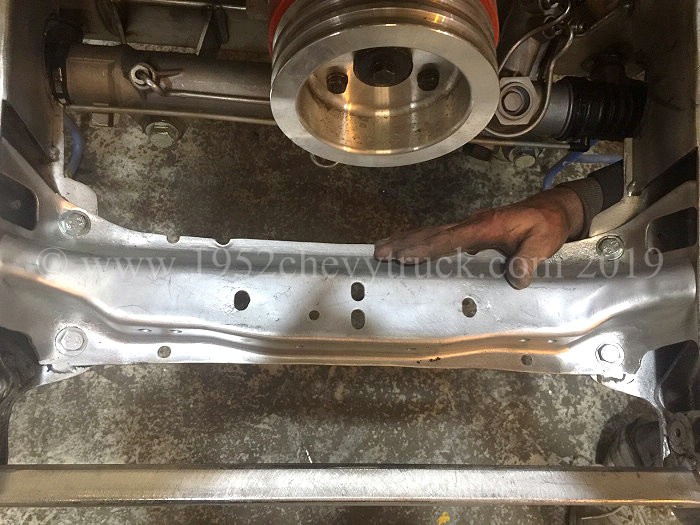
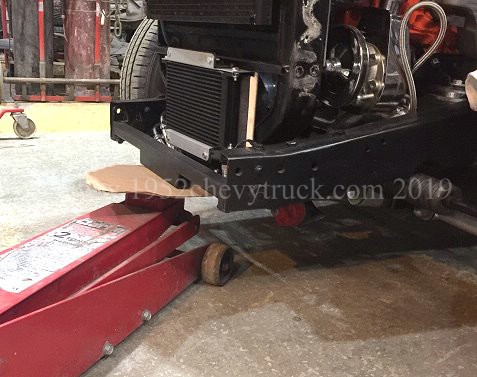
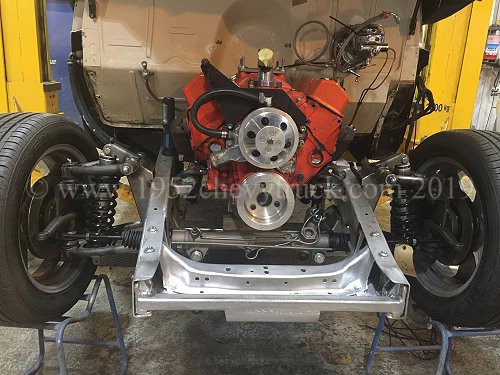
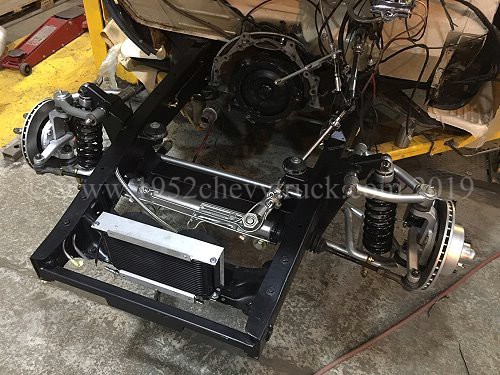
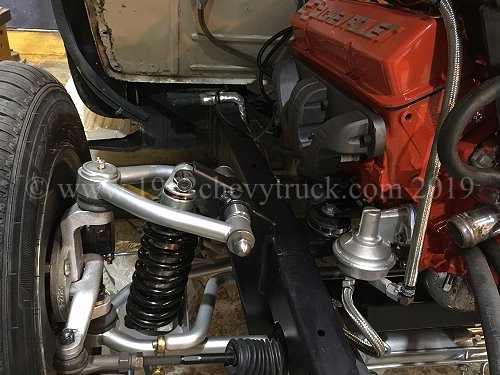
Once again, below, you can see the excellent access from below which means hands can now easily get through
between the cross member and power rack and access steering pipes, bottom of radiator etc.
High pressure flexible stainless steel hose connects the power rack and power steering pump to the
pipes inside the boxed in chassis which go to the transmission. More high pressure flexible
stainless hoses connect between the pipes in the chassis rails to the transmission.

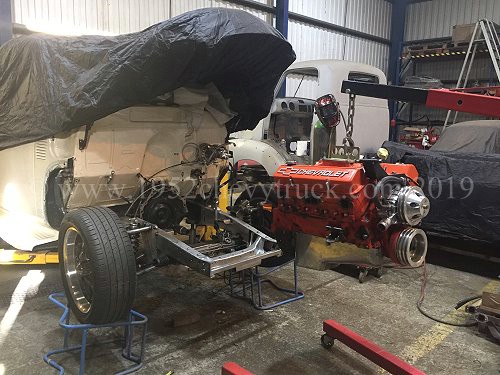
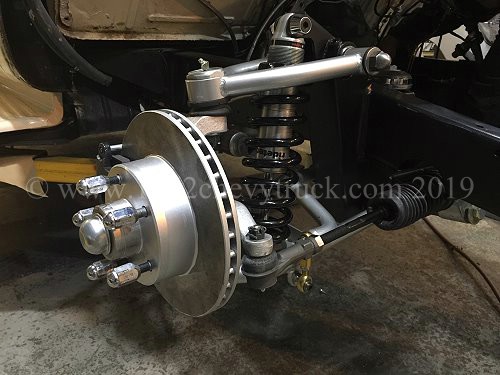
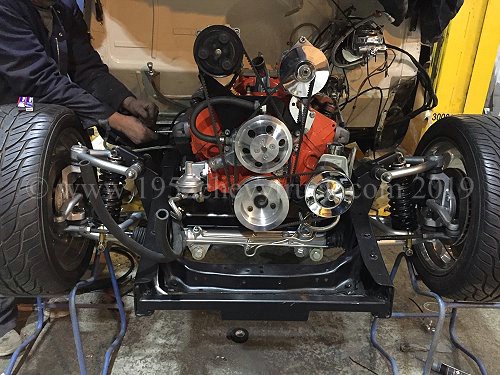
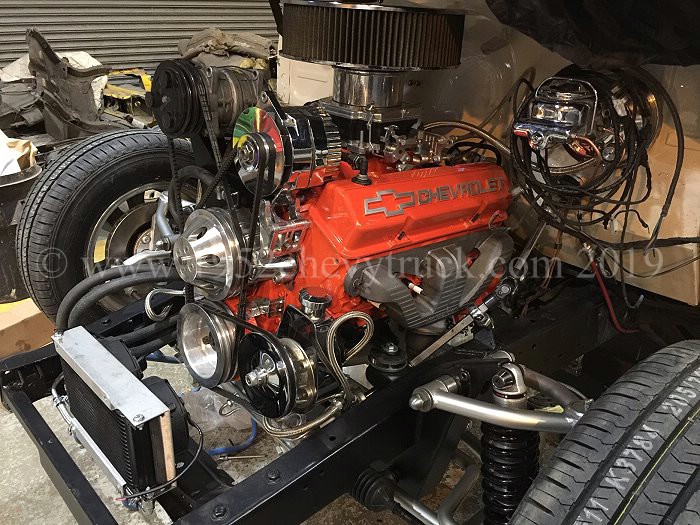
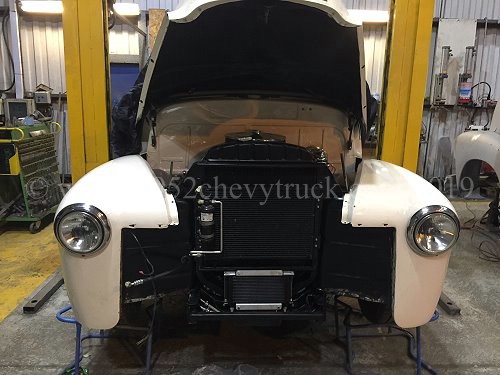
After the new suspension was fully assembled, the engine, radiator, fan and shroud, manifolds, transmission cooler
and fenders (wings) were all bolted on.

A pair of temporary wheels were fitted.
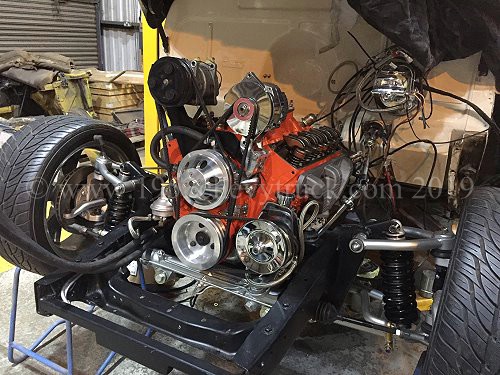
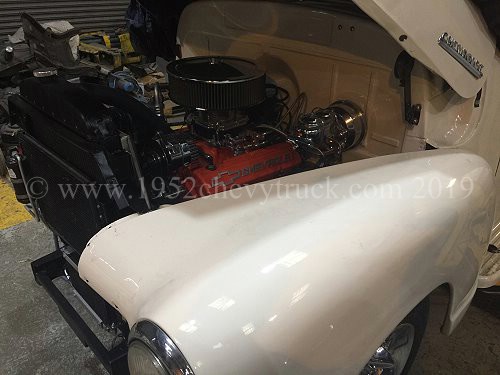
Notice the Sanderson header manifolds have been painted with E-Tech Extermely High Temperature Paint.
Colour - Graphite. Available from Amazon and other retailers.
October 2020 update. In the last 18 months since the manifolds were painted, they have remained in perfect
condition. This paint has not faded or marked in any way. Highly recommeded.

Before fitting the front fenders (wings) the correct wheels were fitted. They had been sent away for tyre fitting.
12. Fluids
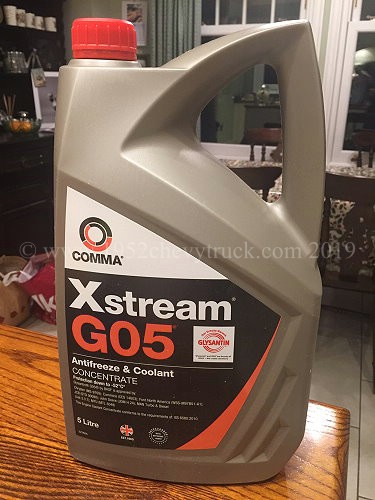
Fluids were put into the engine. radiator, transmission and brakes. More than 5L of coolant are needed but 5L of antifreeze and
5L of de-ionised water in a 50/50 mix was more than enough. Comma G-05 mixed with the di-ionised water was put into the radiator.
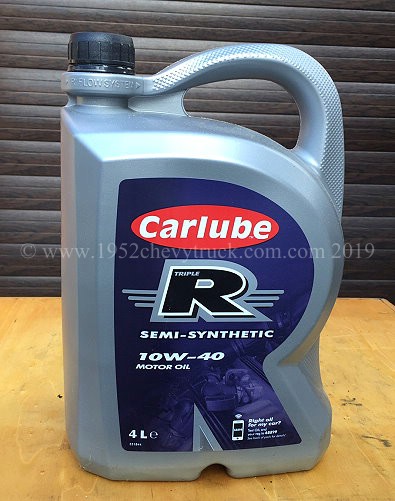
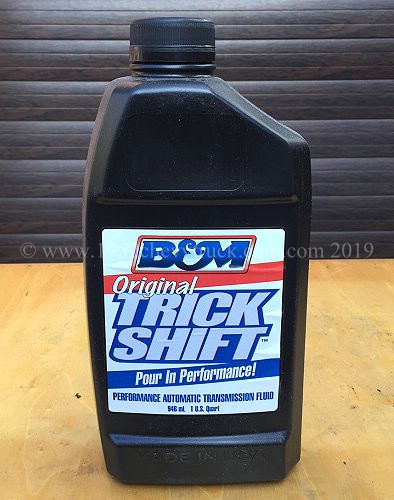
5L of Carlube "Triple R" Semi Synthetic oil was put into the engine. 9 quarts of Trick Shift were put into the 200r4 transmission
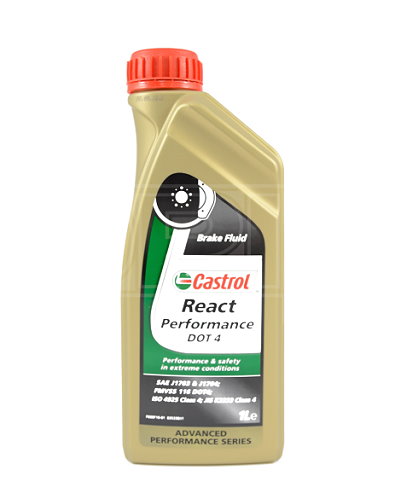
(with a deep pan there are 7Qt in the transmission and 2Qt in the torque convertor) and 1L Castrol Dot 4 was put into the brakes.
At the same time as this ifs upgrade, a major cooling package upgrade was also done.
It is mentioned above but you can read about it in much more detail on the -
Cooling Package Page.
13. How long did this upgrade take?
Not detailed above was the removal of the front bumper and windscreen washer system (1 hour) and the re-fitting
of the front bumper and windscreen washer system (2 hours). The total number of hours for everything above was
155 hours + 3 hours = 158 hours. This was spread over 7 weeks from the 5th of February 2019 until the middle of
the last week in March 2019 and typically the work on the truck was three full days in each week.
The 158 hours quoted did not include the time taken to make an aluminium shroud for the radiator
as detailed on the cooling package upgrade page.
14. Brakes Upgrade. Jan. 2020
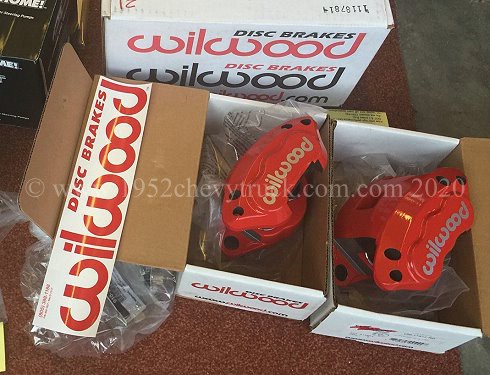
The TCI ifs upgrade was excellent, however there are a number of optional upgrades available which were not purchased.
One of them was a Wilwood disc caliper kit upgrade at about $900. Quite a lot of money on top of the price of the ifs.
This upgrade was found to be a good idea since the quality of the standard single piston steel GM calipers was poor.
Really poorly machined and indeed the surface of the metal where the brake lines screw onto was so badly machined
(not flat) that a good seal was not possible and stopping brake fluid from leaking was a big problem.
There was, however, nothing wrong with the standard disc rotors which came with the ifs therefore it was possible to
do a brake upgrade without spending $900. All that was needed was a brake caliper upgrade and this cost $383.32
Check out the Wilwood D154 kit which is a close replacement for the GM calipers without having to change the rotors.
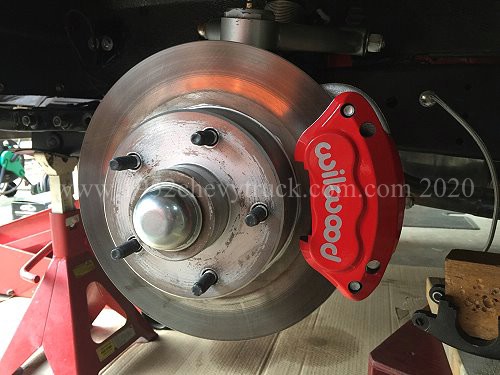
This Wilwood kit is a precision made aluminium caliper with twin pistons. Screwed into the two calipers was a pair of
Allstar performance adapter fittings, "3AN male to 1.5 male adapters" at $10.99 from JEGS. Since the position of
the caliper adapter / connector was different, the pipes which came with the TCI ifs were 2� too long and so shorter
pipes were needed. Two new flexible brake pipes were ordered. These were JEGS 635005 18" pre-asembled brake
hose 3AN straight to straight hoses and they were found to be very good quality and flexible. $12.63 each.
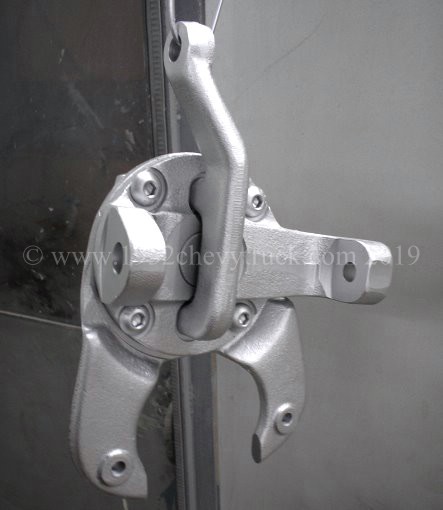
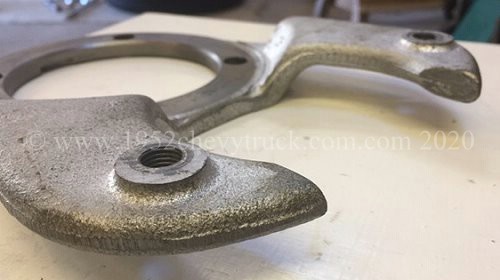
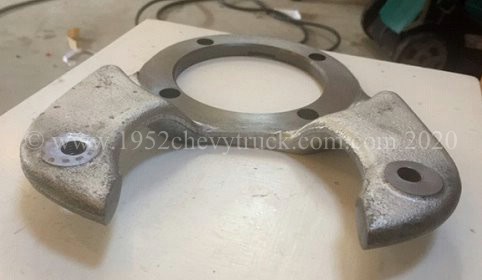
An additional problem (shown in the two pictures below) was that the caliper did not exactly line up with the rotor
and so 2.5mm was taken off the raised parts of the arm by a local engineering company at �80 (about $100).
Clearly the original TCI upgrade is the way to go if you have the funds but this option does work well at a lower cost.
Wilwood GM D154 front Brake Caliper Kits 140-12100-R for 0.810" rotors. Dual Piston. Red. Summit Racing �383.32

The rest of the upgrade involved a new master cylinder / proportioning valve & booster

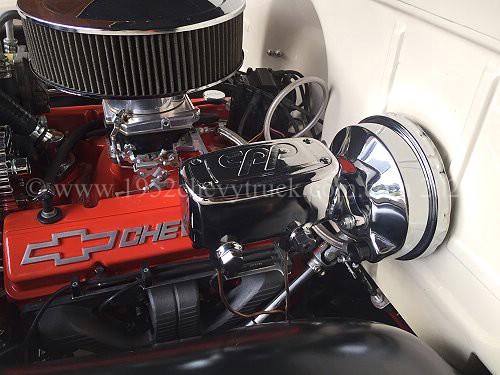
There are many types of brake servo (booster) but the chrome type with chrome master cylinder look very good. The most
effective servos have a larger diameter and have a double diaphragm. The least power assist comes from a 7� single
diaphragm booster. Appearance must also be considered, which is always a matter of opinion and here my preference is
for the slimmer single diaphragm type. Universal boosters have a 4-bolt pattern of 3-3/8 inches square centre to
centre bolt pattern for firewall mounting. They also have a 3-3/8� centre to centre spacing for the two bolts in
the flange which connects to the master cylinder. The largest chrome single diaphragm booster with this universal
bolt pattern is 8� ($95 from www.eBay.com including shipping and taxes from the States) and this provides a little
more (usually enough) power than the minimum 7� booster.
This 8" booster only comes from "Transmountracing" and although the do have their own web site, they only sell on ebay
There are a wide range of polished master cylinders but only one (in my opinion) stands out as ideal in that
performance / appearance consideration. This is the (polished aluminium) CPP (Classic Performance) MCPV-1, It has
the proportioning valve built into it. Some people run without a proportioning valve but brake effectiveness is
improved if you can set the brake balance to be (for example) 70% to front and 30% to rear. Other brake master
cylinders need the proportioning valve to be external. There are many very attractive chrome proportioning valves
which can hang under the cylinder but in my opinion a cylinder with a built-in proportioning valve looks better.
The CPP MCPV-1 master cylinder (CP31500-C 1" bore) is $199.00 + shipping from Summit Racing.
This 8� booster / master cylinder / proportioning valve combination looks great and works well.